
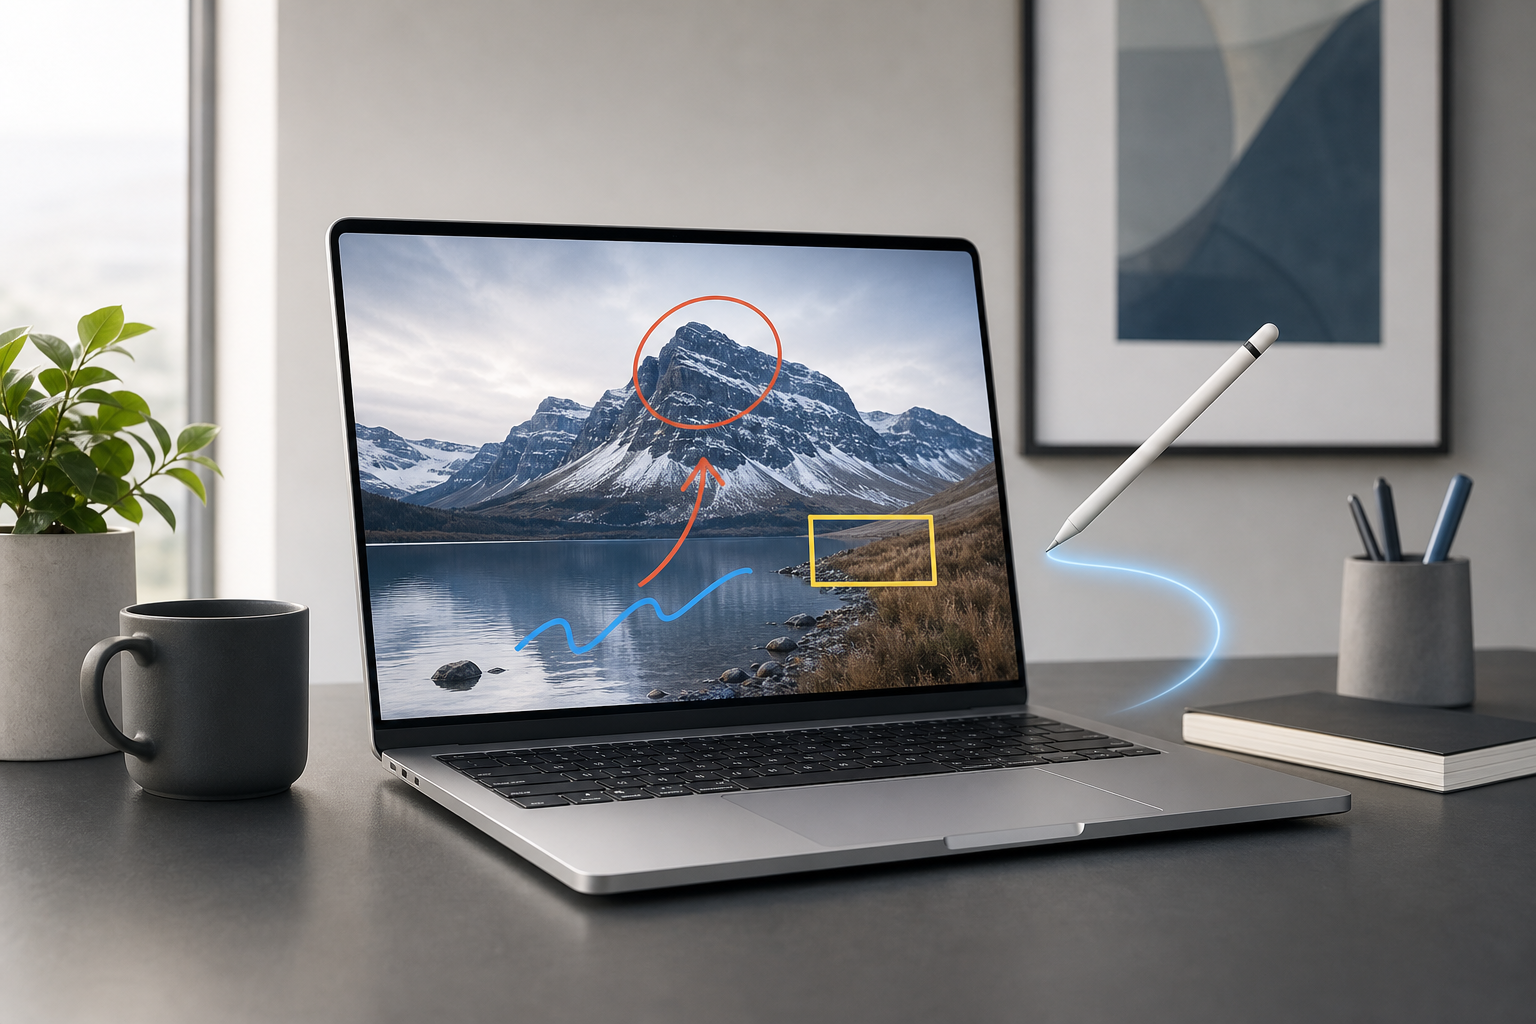
Markup lets you add notes, highlights, drawings, shapes, signatures, and other annotations to PDFs, images, screenshots, and documents on a Mac. You can use it in Preview, Quick Look, Mail, and the screenshot tools without installing another app.
Quick Answer
To use Markup on a Mac:
- Open a PDF or image in Preview, or select a file and press the Space bar to open it in Quick Look.
- Click the Markup button, which looks like a marker tip inside a circle.
- Choose a tool, such as Text, Sketch, Shapes, Signature, Highlight, or Crop.
- Add your annotation.
- Save the file, or use File > Duplicate or File > Export to preserve the original.
For screenshots, press Shift-Command-5, take a screenshot, and click its thumbnail to open the Markup tools.
What You Can Do With Markup
Markup tools vary slightly depending on the app and the type of file. Common options include:
- Add text boxes
- Draw freehand lines and sketches
- Add arrows, rectangles, circles, and other shapes
- Highlight text in PDFs
- Add a signature
- Crop images and screenshots
- Rotate images
- Add magnification or callout shapes
- Redact sensitive information in supported workflows
- Change line thickness, colors, fonts, and text alignment
Markup is useful for signing a form, pointing out a detail in a screenshot, reviewing a document, or adding instructions to an image.
Use Markup in Preview
Preview is the most versatile built-in Mac app for annotating PDFs and images.
Open the file in Preview
- Open Finder.
- Find the PDF or image you want to edit.
- Double-click the file.
If another app opens the file, Control-click it, choose Open With, and select Preview.
Show the Markup toolbar
- In Preview, choose View > Show Markup Toolbar.
- The Markup toolbar appears near the top of the window.
You can also click the Markup button in the toolbar when it is available.
Add text
- Click the Text button in the Markup toolbar. It usually appears as a letter T inside a box.
- Click where you want the text box to appear.
- Type your text.
- Drag the text box to reposition it.
- Use the text-style controls to change the font, size, color, or alignment.
Text boxes are useful for adding labels or filling out simple forms. However, they do not always behave like editable form fields. If a PDF contains actual interactive fields, click the field and type directly when possible.
Draw or sketch
- Click the Sketch or Draw tool.
- Use the pointer or trackpad to draw.
- Select a color and line thickness if needed.
On a Mac with a Force Touch trackpad, the appearance of a sketch may vary depending on how firmly you press. A mouse or standard trackpad can also create freehand drawings, but precise handwriting may be difficult.
Preview may automatically recognize a rough drawing as a simple shape. If it does, you can use the recognized shape instead of the original sketch.
Add shapes and arrows
- Click the Shapes button.
- Select a shape, such as a rectangle, oval, line, arrow, speech bubble, or star.
- Drag the shape into position.
- Drag its handles to resize it.
- Use the style controls to change its border, fill color, or line thickness.
To move an annotation, click it and drag it. To remove it, select it and press Delete.
Highlight PDF text
- Select the text in the PDF.
- Click the Highlight button.
- Choose a highlight color if the option is available.
You can also Control-click selected text and look for a highlighting option. Highlighting works best when the PDF contains selectable text. If the page is only a scanned image, Preview may not be able to select individual words.
To remove a highlight, select it and press Delete, or use the available annotation controls.
Add a signature
Preview can create a signature using your Mac’s camera, trackpad, or a nearby iPhone or iPad when available.
- Click the Signature button in the Markup toolbar.
- Choose Create Signature.
- Select a method:
– Trackpad: Sign with your finger on the trackpad.
– Camera: Sign on white paper and hold it up to the camera.
– A nearby device option, if available. - Follow the onscreen instructions.
- Click Done.
- Select the saved signature and drag it onto the document.
- Resize and reposition it as needed.
A signature created in Preview may remain available for later use. Treat saved signatures as sensitive information, especially on a shared Mac.
Crop an image or screenshot
Cropping removes the outside edges of an image.
- Open the image in Preview.
- Drag to select the area you want to keep.
- Choose Tools > Crop.
You can also use the crop control in the Markup toolbar if it is available.
Cropping changes the image’s visible dimensions. To preserve the original, duplicate the file or export a copy before cropping.
Rotate an image
- Open the image in Preview.
- Choose Tools > Rotate Left or Tools > Rotate Right.
- Repeat the command until the image has the correct orientation.
Some versions of Preview also provide rotate controls in the toolbar.
Save a copy instead of overwriting the original
Markup edits can be saved directly to the current file. Before making substantial changes, preserve the original:
- In Preview, choose File > Duplicate.
- Enter a name for the copy.
- Choose where to save it.
- Click Save.
- Apply your annotations to the duplicate.
You can also choose File > Export to create a new PDF, JPEG, PNG, or another supported format. Exporting may flatten annotations, meaning they become part of the output rather than remaining separately editable.
Warning: Before closing Preview, save your work or confirm that you are editing a copy. Unsaved annotations can be lost, and saving may overwrite the original file.
Use Markup in Quick Look
Quick Look lets you preview a file without opening it in a full app. It can also provide Markup tools for supported PDFs and images.
- Open Finder.
- Select a PDF or image.
- Press the Space bar.
- Click the Markup button if it appears.
- Use the available tools to add annotations.
- Click Done when finished.
Quick Look may show fewer tools than Preview. If you need advanced controls, close Quick Look and open the file in Preview.
Depending on the file and macOS behavior, Quick Look may save changes to the existing file. To avoid changing the original, make a copy in Finder before using Markup:
- Select the file.
- Choose File > Duplicate.
- Open the duplicate with Quick Look.
- Apply your annotations to the copy.
Use Markup in Mail
Mail can use Markup when you attach and annotate an image or PDF before sending it.
Annotate an attachment before sending
- Open Mail and create a new message.
- Add an image or PDF attachment.
- Move the pointer over the attachment.
- Click the Action button or the attachment’s menu.
- Choose Markup.
- Add text, shapes, drawings, a signature, or other available annotations.
- Click Done.
- Finish and send the message.
The exact attachment controls can vary depending on the file type and Mail window size. If Markup is not immediately visible, Control-click the attachment or open its menu.
Markup in Mail is convenient for sending a marked-up copy. It does not necessarily modify the original file stored on your Mac. If you need to keep the annotated version, save it separately before sending or use the attachment’s menu to save a copy when available.
Warning: Check the attachment before clicking Send. Markup may make private notes, signatures, or highlighted information part of the file that the recipient receives.
Draw on a Screenshot in macOS
The screenshot tools provide one of the fastest ways to draw on a Mac screenshot.
Take a screenshot and mark it up
- Press Shift-Command-5.
- Choose Capture Entire Screen, Capture Selected Window, or Capture Selected Portion.
- Take the screenshot.
- A thumbnail appears temporarily, usually near the lower-right corner of the screen.
- Click the thumbnail before it disappears.
- Use the Markup tools to annotate the screenshot.
- Click Done to save the marked-up screenshot.
You can add arrows, shapes, text, a signature, or a freehand drawing. You can also crop the screenshot before saving it.
If you do not click the thumbnail, macOS saves the screenshot using the selected screenshot settings. You can then open the image in Preview and use View > Show Markup Toolbar.
Change where screenshots are saved
- Press Shift-Command-5.
- Click Options.
- Choose a location under Save to.
The Options menu also controls whether the floating thumbnail appears and whether the pointer is included.
Mark up an existing screenshot
- Find the screenshot in Finder.
- Double-click it to open it in Preview.
- Choose View > Show Markup Toolbar.
- Add your annotations.
- Choose File > Save or File > Export.
Redact Sensitive Information Carefully
Redaction is intended to hide sensitive information such as account numbers, addresses, or private names. However, simply drawing a black rectangle over text is not always secure. In some files, the covered text may still exist underneath and could be revealed by moving or removing the shape.
If your version of Preview provides a dedicated Redact tool:
- Open the PDF in Preview.
- Show the Markup toolbar.
- Select the Redact tool.
- Select the text or area to redact.
- Review the document carefully.
- Save a separate copy.
If no dedicated redaction tool is available, do not assume that a black shape permanently removes the underlying information. Safer alternatives include exporting or printing the document to a new PDF after applying opaque redactions, then checking the result by attempting to select, copy, or search for the hidden text. For highly sensitive or legally important documents, use a PDF application designed specifically for verified redaction.
Warning: Redaction can be irreversible. Always keep an untouched original, and verify the final file before sharing it.
Remove or Edit Annotations
Most Markup annotations remain selectable after you add them.
- Click the annotation.
- Drag it to move it.
- Use its handles to resize it.
- Change its color, border, or text settings using the toolbar.
- Press Delete to remove it.
Some actions flatten annotations into the document or image. After flattening, individual elements may no longer be editable separately.
Troubleshooting Markup on a Mac
The Markup toolbar is missing
In Preview, choose View > Show Markup Toolbar. In Quick Look, select a supported PDF or image and look for the Markup button. Some file types do not support Markup.
I cannot highlight text
The PDF may be a scanned image rather than a text-based PDF. Try selecting text with the pointer. If no words can be selected, Preview cannot apply a normal text highlight to that page.
You can draw a colored shape over the area instead, but that is not the same as a searchable PDF highlight.
My signature is not available
Click the Signature button and choose Create Signature. If you created a signature previously but cannot find it, confirm that you are using the same Mac user account and that the signature is not being managed by a different device or profile.
My annotations disappeared
You may have closed the app without saving, opened the unmarked original, or exported the file in a way that did not include the annotations. Reopen the file and check whether the changes are present. Before editing again, duplicate the file and save regularly.
I cannot edit a PDF
Some PDFs have restrictions, password protection, or unusual structures. Preview may allow viewing but limit editing. You may need the document password or a dedicated PDF editor.
The screenshot thumbnail disappeared
The thumbnail is temporary. If it is gone, find the screenshot in its save location and open it in Preview. You can then use the full Markup toolbar.
Frequently Asked Questions
Is Markup free on a Mac?
Yes. Markup is built into macOS and is available through apps and tools such as Preview, Quick Look, Mail, and Screenshot.
Can I use Markup on a PDF?
Yes. Preview can add text, shapes, drawings, signatures, highlights, and other annotations to supported PDFs.
Can I draw on a screenshot in macOS?
Yes. Press Shift-Command-5, capture the screen, click the screenshot thumbnail, and use the Markup tools. You can also open an existing screenshot in Preview.
Can I fill out a PDF form with Markup?
You can add text boxes to many PDFs. If the PDF has interactive form fields, click those fields and type directly when possible. Markup text boxes are useful for simple forms but may not provide the same behavior as official form fields.
Does Markup permanently edit the original file?
It can, depending on how you save the file and which app you use. Use File > Duplicate or File > Export first if you need to protect the original.
Can Markup permanently remove private information?
Not always. A black shape placed over text may only conceal it visually. Use a dedicated redaction feature when available, verify the exported file, and avoid sharing sensitive documents until you confirm that the underlying information cannot be selected, copied, or searched.
Can I undo a Markup change?
Usually, choose Edit > Undo immediately after making the change. Once you close the document, export it, or flatten the annotations, undo options may be limited. Keeping an original copy is the safest recovery method.
Final Thoughts
Markup on a Mac provides a straightforward way to annotate PDFs, images, email attachments, and screenshots. Use Preview when you need the most control, Quick Look for quick changes, Mail for annotating attachments before sending, and the screenshot tools for immediate screen captures. Before editing, duplicate important files, and treat signatures and redactions with care.