
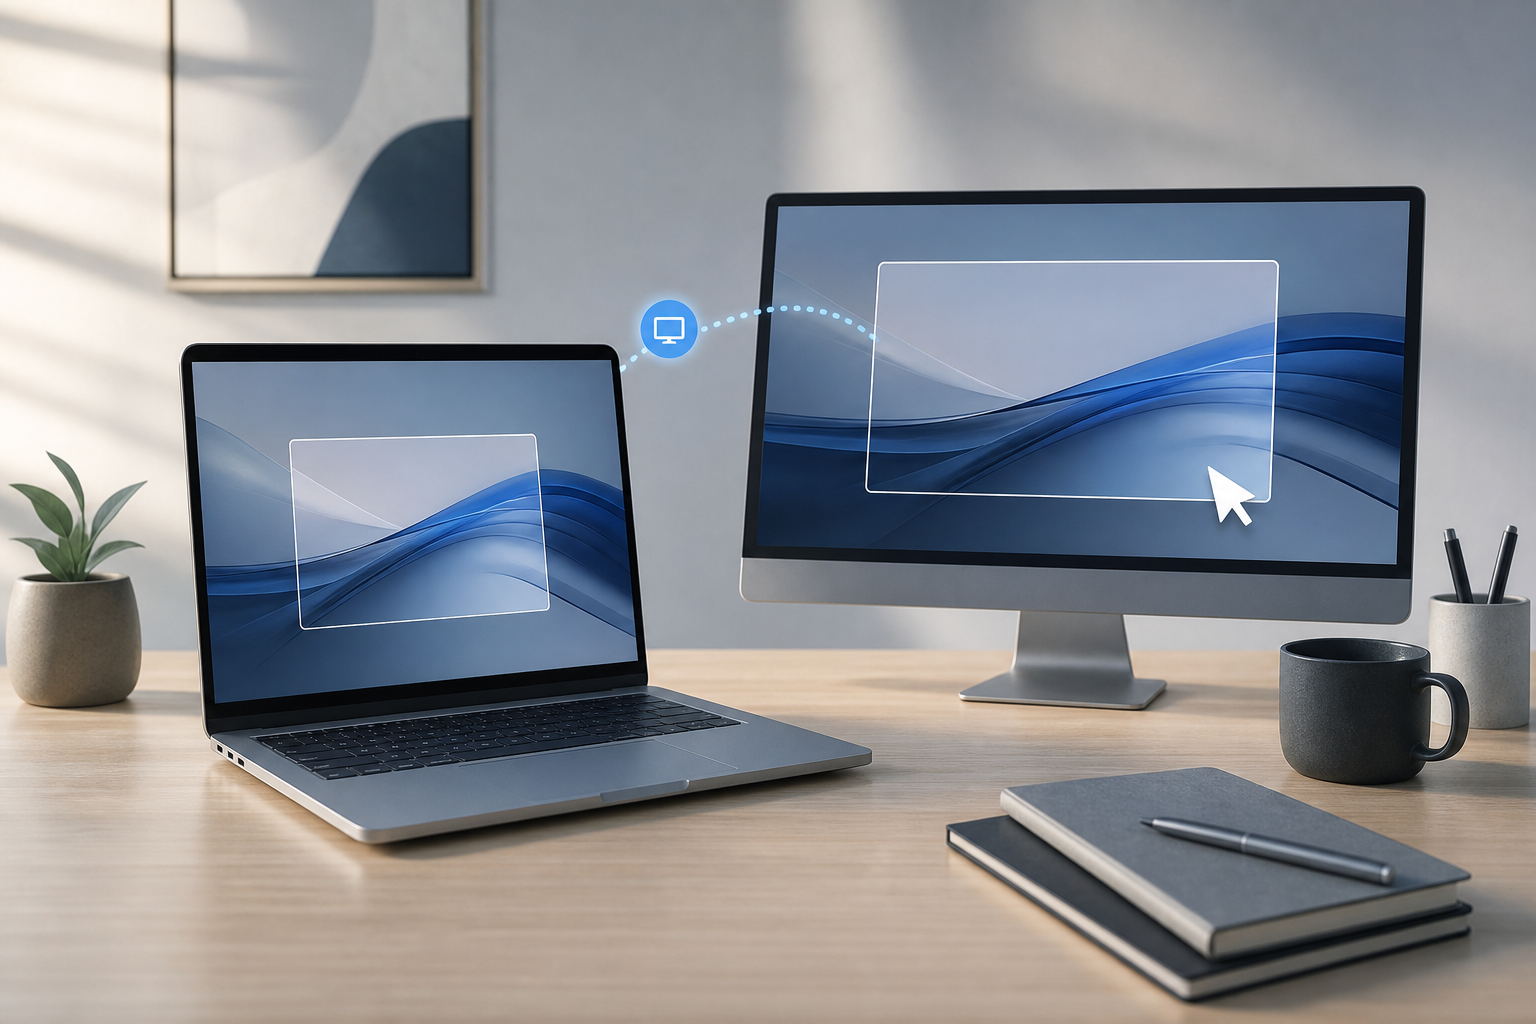
You can share and control another Mac by turning on Screen Sharing on the Mac you want to access, selecting which users are allowed to connect, and then connecting from Finder or the Screen Sharing app. The remote user can have full control or only view the screen, depending on the permissions you choose.
Mac Screen Sharing works best when both Macs are connected to the same local network. Remote access over the internet is also possible, but it usually requires a secure network connection, such as a virtual private network (VPN), or a separately configured remote-access service.
Quick Answer
To share and control a Mac screen:
- On the Mac being controlled, open Apple menu > System Settings > General > Sharing.
- Turn on Screen Sharing.
- Click the information button next to Screen Sharing and choose the users who can connect.
- On the other Mac, open Finder, select Go > Network, and double-click the Mac you want to access.
- Click Share Screen, enter an authorized username and password, and connect.
- For view-only access, choose the option that prevents the remote user from controlling the screen.
You must have permission to access the other Mac. A user with control can open apps, change settings, move files, and potentially delete data, so only grant access to people you trust.
Before You Begin
Check these requirements before setting up Screen Sharing:
- Both Macs should be connected to the same network for the simplest setup.
- The Mac being shared must be turned on and awake, or configured to wake for network access.
- You need an account on the Mac being accessed, unless the owner has specifically enabled another supported access method.
- The person connecting must know the authorized account’s password.
- The Mac being controlled should be running a user account that is allowed to use Screen Sharing.
- A wired Ethernet connection can provide a more stable experience than Wi-Fi, especially for video or other graphics-heavy work.
Screen Sharing is different from screen recording. Screen Sharing lets another Mac display your desktop and, if permitted, control it. Screen recording captures video of the screen and does not by itself provide remote control.
Turn On Screen Sharing
Complete these steps on the Mac whose screen you want to share.
- Open the Apple menu and choose System Settings.
- Select General in the sidebar.
- Click Sharing.
- Turn on Screen Sharing.
- Click the information button next to Screen Sharing to review its settings.
The Screen Sharing settings show the Mac’s network address or name. You may need this information when connecting manually.
Choose Who Can Connect
Screen Sharing can be limited to selected users or made available to all users on the Mac, depending on the options shown in your settings.
- In the Screen Sharing settings, find the list of users allowed to connect.
- Choose Only these users if you want to restrict access.
- Click the Add button to add a user or group.
- Select the account that should be allowed to connect.
- Remove any account that should no longer have access.
Choose users carefully. Anyone who can authenticate with an allowed account may be able to access the Mac according to that account’s permissions.
Allow All Users or Selected Users
The exact controls can vary depending on the Mac’s configuration, but the important choice is whether Screen Sharing is available to:
- All users on the Mac
- Only selected users or groups
For everyday use, limiting access to selected users is the safer choice. If several people need access, consider adding a dedicated standard user account instead of giving remote access to an administrator account.
Allow View-Only Access
If someone only needs to see the screen, prevent them from controlling the Mac.
- Open Apple menu > System Settings > General > Sharing on the Mac being shared.
- Open the settings for Screen Sharing.
- Look for the control that allows viewers to control the screen.
- Turn off the option that permits control.
The wording may vary by macOS configuration, but the setting controls whether a connected user can use the mouse and keyboard remotely.
View-only access is useful when:
- You are demonstrating a procedure.
- Someone is helping diagnose a problem.
- You want another person to watch a presentation.
- You need to show a screen without allowing changes.
If control is enabled, the remote user may be able to launch apps, edit documents, change settings, and perform other actions as the connected account.
Connect Through Finder
Finder provides a convenient way to connect to another Mac on the same network.
Complete these steps on the Mac that will connect to the shared screen:
- Open Finder.
- In the menu bar, choose Go > Network.
- Wait for available computers to appear.
- Select the Mac you want to access.
- Click Share Screen.
- Enter the username and password for an account allowed to use Screen Sharing.
- Click Sign In or Connect, depending on the prompt shown.
A Screen Sharing window opens after authentication. The remote Mac’s desktop appears in that window.
If the Mac Does Not Appear in Finder
You can connect using the Mac’s network address instead:
- In Finder, choose Go > Connect to Server.
- Enter a Screen Sharing address in this format:
vnc://Mac-name.local
You can replace Mac-name.local with the computer name or network address shown in the shared Mac’s Screen Sharing settings. You can also use a local IP address when appropriate:
vnc://192.168.1.25
- Click Connect.
- Authenticate with an allowed account.
The vnc:// format tells macOS to open a Virtual Network Computing connection. VNC is a standard method for remotely viewing and controlling a computer desktop.
Connect With the Screen Sharing App
The Screen Sharing app can connect directly without first browsing through Finder.
- Open Finder.
- Select Applications in the sidebar.
- Open the Utilities folder.
- Double-click Screen Sharing.
- Enter the name or network address of the Mac you want to access.
- Click Connect.
- Enter the credentials for an authorized account.
You can also open the app with Spotlight:
- Press Command-Space.
- Type
Screen Sharing. - Select the Screen Sharing app from the results.
- Enter the remote Mac’s name or address.
- Authenticate when prompted.
This method is useful when you already know the computer’s address or when the Mac is not listed in Finder.
Control the Remote Mac
After connecting, the remote desktop appears in a window.
With control enabled, you can generally:
- Move the pointer.
- Click buttons and menus.
- Type with the keyboard.
- Open and close apps.
- Work with documents.
- Change supported system settings.
- Copy and paste text.
Performance depends on network speed, latency, and what is displayed on the remote Mac. A desktop with static windows usually responds more smoothly than one showing high-resolution video or animation.
Send Keyboard Shortcuts Carefully
Some keyboard shortcuts may be handled by your local Mac rather than the remote Mac. If a shortcut does not work as expected, use the remote Mac’s menu commands when possible.
Be especially careful with shortcuts that:
- Close apps.
- Restart or shut down the Mac.
- Delete files.
- Force quit an application.
- Log out the current user.
Before closing an app or restarting the remote Mac, confirm that any unsaved work has been saved. A remote action can interrupt someone working directly on that Mac.
Work With Another Person at the Mac
Screen Sharing can be disruptive if someone is actively using the computer. Coordinate before taking control.
Tell the person at the Mac before you:
- Move the pointer or type.
- Open or close apps.
- Change settings.
- Log out a user.
- Restart or shut down the Mac.
If you are troubleshooting, ask the person at the Mac to describe what they see while you observe or control the screen.
Disconnect From Screen Sharing
To end the connection:
- Move the pointer to the Screen Sharing window.
- Choose Screen Sharing > Close Screen Sharing Window, or close the window.
- Confirm any prompt if one appears.
Disconnecting ends the viewing or control session. It does not normally turn off Screen Sharing on the remote Mac.
If you no longer need remote access, turn Screen Sharing off on the shared Mac:
- Open Apple menu > System Settings > General > Sharing.
- Turn off Screen Sharing.
Turning off the service prevents new Screen Sharing connections until it is enabled again.
Security and Privacy Considerations
Remote control gives another person access to the Mac’s desktop. Treat it as equivalent to allowing that person to sit in front of the computer.
Follow these precautions:
- Allow only people you trust.
- Prefer Only these users instead of allowing all users.
- Use a standard user account when administrator privileges are unnecessary.
- Do not share an administrator password casually.
- Turn Screen Sharing off when it is no longer needed.
- Avoid exposing Screen Sharing directly to the public internet.
- Use a trusted network or a properly configured VPN for remote connections.
- Confirm who is connected before sharing confidential information.
- Lock the Mac or end the session when you are finished.
Screen Sharing may expose documents, messages, browser tabs, passwords displayed on screen, and other private information. The remote user may also be able to access files available to the connected account.
Do Not Expose Remote Access Without Understanding the Risks
Opening ports on a router to make a Mac directly reachable from the internet can increase the risk of unauthorized access. This setup is not necessary for most home users and should not be attempted without understanding firewall rules, authentication, network security, and ongoing maintenance.
For access from outside your home or office network, a VPN is generally safer than exposing a remote desktop service directly to the internet. Your organization may also provide an approved remote-access solution.
Troubleshooting Screen Sharing
Screen Sharing Is Off
On the Mac being accessed, open Apple menu > System Settings > General > Sharing and confirm that Screen Sharing is turned on.
Also verify that the connecting account is included in the allowed-users list.
The Mac Does Not Appear in Finder
Try these steps:
- Confirm that both Macs are connected to the same network.
- Make sure the remote Mac is turned on and awake.
- Open Finder and choose Go > Network again.
- Connect manually with Go > Connect to Server.
- Use the Mac’s network name or local IP address in a
vnc://address. - Check whether a firewall or network policy is blocking the connection.
Guest networks and networks with client isolation can prevent devices from communicating with one another, even when both devices have internet access.
The Password Is Rejected
Make sure you are entering the password for an account on the remote Mac, not necessarily the account you use on the Mac you are connecting from.
Check that:
- The username is spelled correctly.
- The account is allowed to use Screen Sharing.
- The account password has not changed.
- Caps Lock is not causing an incorrect password.
- You are not using an Apple Account password when the prompt requires a local Mac account password.
You Can See the Screen but Cannot Control It
The remote Mac may be configured for view-only access.
On the shared Mac, open the Screen Sharing settings and enable the option that allows viewers to control the screen. You may also be connected with an account that does not have the required permissions.
If control is enabled but input still does not work, disconnect and reconnect. The person at the remote Mac may also have local control, or another remote session may be active.
The Connection Is Slow or Unresponsive
Try the following:
- Move both Macs closer to the Wi-Fi router.
- Use Ethernet for one or both Macs.
- Stop video streaming or large downloads on the network.
- Close unnecessary apps and windows on the remote Mac.
- Reduce display quality or resolution if the Screen Sharing app provides that option.
- Disconnect and reconnect.
High latency—the delay between an action and the response—can make remote control feel slow even when internet speeds appear fast.
The Connection Drops
A dropped connection can result from a sleeping Mac, unstable Wi-Fi, VPN changes, or a network interruption.
Check that:
- The remote Mac remains awake.
- Both Macs stay connected to the same network.
- The Mac is not switching between Wi-Fi networks.
- A VPN is not disconnecting or changing routes.
- The remote Mac has not restarted or logged out.
If the problem continues, restart Screen Sharing on the remote Mac by turning it off and on in System Settings > General > Sharing. Warn anyone using that Mac first, because changing the service can interrupt an active session.
The Screen Is Black or Shows a Login Screen
The remote Mac may be locked, logged out, asleep, or waiting for local authentication. Ask someone at the Mac to check its physical display if possible.
Some privacy, security, or display configurations can also affect what appears in a remote session. Confirm that the Mac is awake and that Screen Sharing remains enabled.
Frequently Asked Questions
Can I control another Mac from my Mac?
Yes. Enable Screen Sharing on the Mac you want to access, allow your user account to connect, and connect through Finder or the Screen Sharing app. Control must be permitted in the Screen Sharing settings.
Can I share a Mac screen without allowing control?
Yes. Configure Screen Sharing for view-only access by turning off the setting that allows connected viewers to control the screen.
Do both Macs need to be on the same Wi-Fi network?
No, but the same local network is the simplest arrangement. For connections over the internet, you typically need a secure method such as a VPN or an organization-approved remote-access system.
Does the remote Mac need to be turned on?
Yes. It must be turned on and available on the network. If it is asleep, the connection may fail unless its settings allow it to wake for network access.
Can more than one person connect to a Mac?
Screen Sharing behavior can depend on the Mac’s configuration and whether another session is already active. Multiple connections may be limited or may share the same desktop. Avoid assuming that each person will receive a separate private session.
Is Screen Sharing the same as Remote Management?
No. Screen Sharing is designed to view and control a Mac’s desktop. Remote Management provides broader administrative features and is typically used in managed environments. For ordinary Mac-to-Mac assistance, Screen Sharing is usually the more direct option.
Can I transfer files through Screen Sharing?
Screen Sharing is primarily for viewing and controlling the desktop. You can use the remote Mac’s normal apps and file-management tools if your account has permission, but file transfers may be more convenient through services such as shared folders, AirDrop when nearby, or cloud storage.
Will the other person know that I am connected?
The remote user may see pointer movement, windows opening, and other activity. Screen Sharing may also display connection information depending on the macOS settings and session state. Always notify the Mac’s user before taking control.
Final Thoughts
Mac Screen Sharing provides a straightforward way to help someone, access a Mac on a local network, or work with a remote desktop. Enable it only when needed, restrict access to trusted users, use view-only mode when control is unnecessary, and disconnect when the session ends. For access outside your local network, use a secure connection such as a VPN rather than exposing the Mac directly to the public internet.