
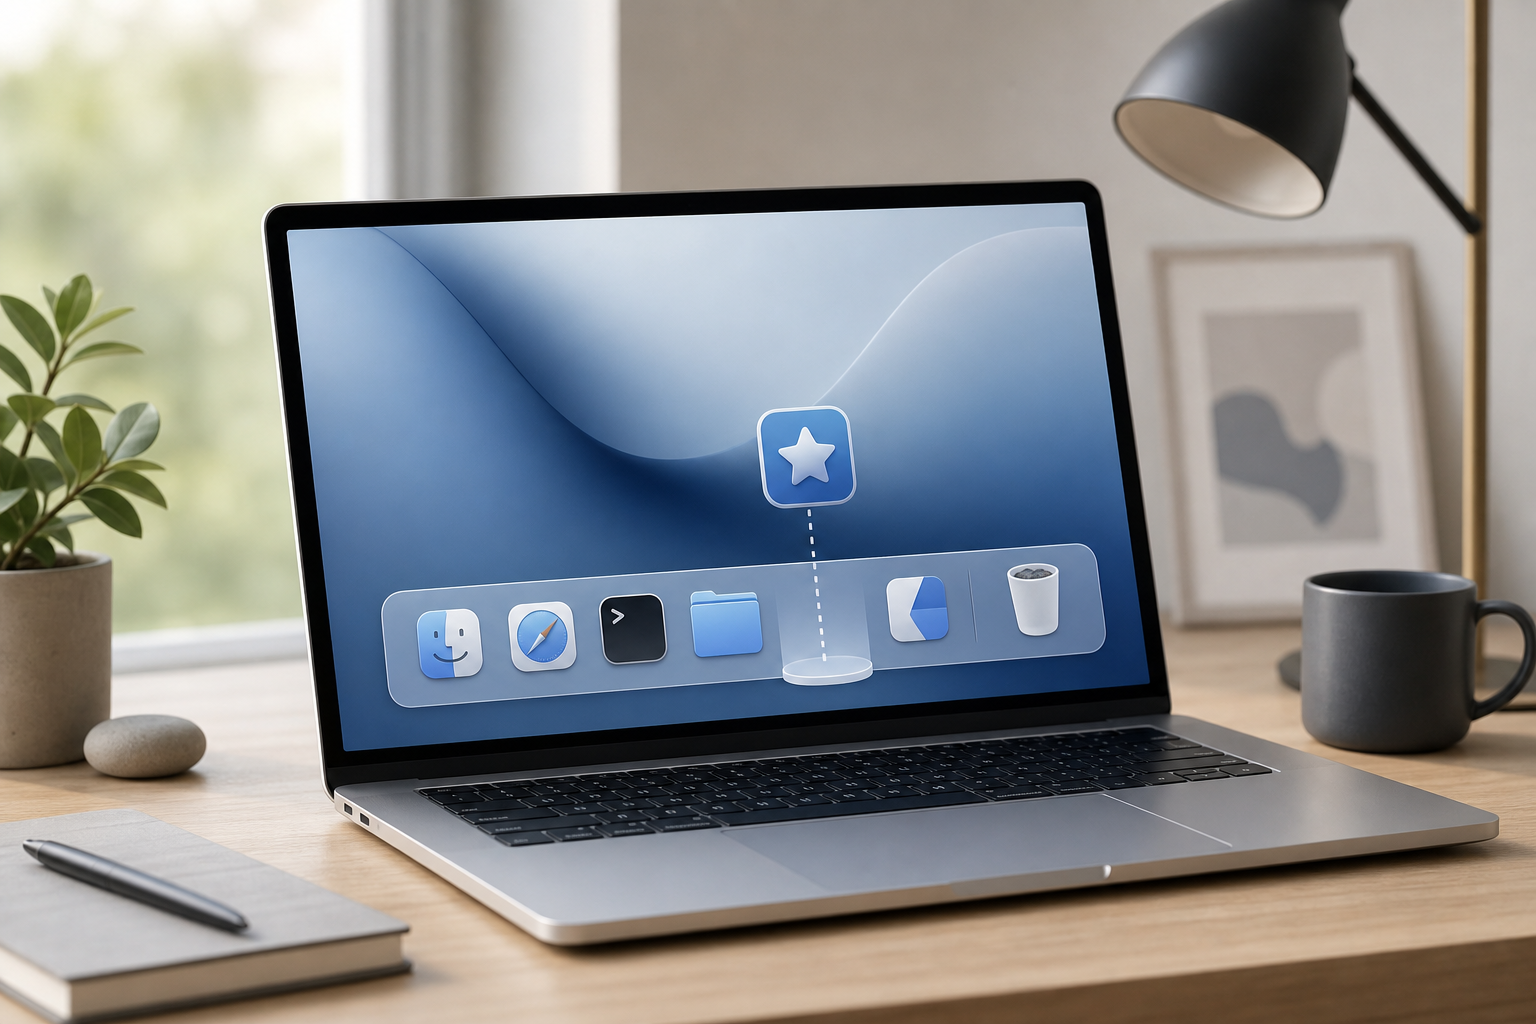
You can customize the Dock on a Mac from System Settings > Desktop & Dock. There, you can resize the Dock, turn on magnification, move it to another edge of the screen, and make it hide automatically. You can also organize the Dock directly by adding or removing apps, arranging items, and creating folders for files and documents.
Quick Answer
To customize your Mac’s Dock:
- Open the Apple menu and choose System Settings.
- Select Desktop & Dock in the sidebar.
- Adjust Size, Magnification, Position on screen, and Automatically hide and show the Dock.
- Drag apps, files, or folders into the Dock to add them.
- Drag unwanted items out of the Dock until Remove appears, then release.
- Keep apps on the left side of the divider and files, folders, minimized windows, and the Trash on the right side.
The exact appearance of some options can vary depending on your Mac’s settings, but the Dock’s basic controls work the same way.
Open the Dock Settings
Most Dock preferences are available in System Settings.
- Click the Apple menu in the upper-left corner of the screen.
- Choose System Settings.
- In the sidebar, click Desktop & Dock.
- Scroll to the Dock section.
You can change the Dock’s size, location, behavior, and display effects from this area. Changes generally take effect immediately, so you can adjust a setting and see the result without closing System Settings.
Resize the Mac Dock
The Dock can take up more or less space along the edge of your screen.
Resize the Dock in System Settings
- Open System Settings.
- Select Desktop & Dock.
- Find the Size slider.
- Drag the slider left to make the Dock smaller or right to make it larger.
A smaller Dock leaves more room for windows. A larger Dock may be easier to see and use, especially on a high-resolution display.
Resize the Dock directly
You can also resize the Dock without opening settings.
- Move the pointer to the divider in the Dock.
– When the Dock is at the bottom, the divider is between the apps and the files or folders.
– When the Dock is on the side, look for the divider between the app section and the files or folders section. - When the pointer changes to a resize cursor, drag the divider.
- Drag toward the center of the screen to make the Dock larger or toward the edge to make it smaller.
If the Dock is set to hide automatically, move the pointer to the edge of the screen first so the Dock appears.
Turn On Dock Magnification
Magnification enlarges Dock icons when you move the pointer over them. It can make individual icons easier to identify without permanently making the Dock larger.
- Open System Settings.
- Click Desktop & Dock.
- Turn on Magnification.
- Use the slider that appears to choose how large the icons become.
To turn magnification off, return to Desktop & Dock and turn off Magnification.
Magnification is particularly useful when you keep the Dock small or have many apps in it. If the enlarged icons feel distracting, reduce the magnification level or disable the feature.
Move the Dock to Another Edge of the Screen
By default, the Dock is usually positioned along the bottom of the screen. You can move it to the left or right side instead.
- Open System Settings.
- Select Desktop & Dock.
- Find Position on screen.
- Choose Left, Bottom, or Right.
A vertical Dock can provide more vertical space for windows, while a bottom Dock may be more familiar and easier to scan. The Dock cannot be placed at the top of the screen through the standard settings.
You can also move the Dock quickly by holding Shift while dragging the Dock’s divider toward the left, bottom, or right edge of the screen. This method can be useful for temporarily changing its position, but the setting in Desktop & Dock is easier to find and adjust later.
Automatically Hide and Show the Dock
Automatic hiding keeps the Dock off-screen until you need it.
- Open System Settings.
- Click Desktop & Dock.
- Turn on Automatically hide and show the Dock.
To reveal a hidden Dock, move the pointer to the edge of the screen where the Dock is positioned. For example, move the pointer to the bottom edge if the Dock is at the bottom.
To keep the Dock visible, turn off Automatically hide and show the Dock.
Use a keyboard shortcut
You can also press Option-Command-D to toggle automatic Dock hiding. Press the same shortcut again to return to the previous behavior.
Automatic hiding can give windows more usable space, but it may add a brief delay when you move the pointer to the edge. If the Dock seems to disappear, check this setting first.
Add Apps to the Dock
Adding your most-used apps gives you a convenient way to open them.
Add an open app
- Open the app.
- Locate its icon in the Dock.
- Control-click the app’s icon, or click it while holding the Control key.
- Choose Options.
- Select Keep in Dock.
The app remains in the Dock after you quit it.
Add an app from Finder
- Open Finder.
- Select Applications in the sidebar.
- Find the app you want to add.
- Drag the app’s icon into the app section of the Dock.
Place it among the other app icons. If you drag it too far to the right, macOS may not add it to the app section.
You can also drag some apps from other locations, such as the desktop, into the Dock. macOS creates a Dock shortcut; it does not move the original app unless you deliberately move the app itself in Finder.
Remove Apps from the Dock
Removing an app from the Dock does not uninstall it or delete it from your Mac. It only removes the shortcut.
- Find the app’s icon in the Dock.
- Drag the icon away from the Dock.
- Wait until Remove appears.
- Release the icon.
You can also Control-click the app, choose Options, and turn off Keep in Dock. If the app is currently open, its icon may remain in the Dock until you quit the app.
Warning: Do not drag an app from the Dock to the Trash if you want to keep it. Dragging an icon out of the Dock removes the Dock shortcut, while moving an actual app to the Trash can uninstall or remove the app.
Rearrange Items in the Dock
You can change the order of icons to match the way you work.
- Click and drag an app, file, or folder in the Dock.
- Move it to a new location in the same section.
- Release it when the other icons shift to show where it will go.
The Dock has two main sections separated by a divider:
- App section: Usually on the left or above the divider. Add applications here.
- File and folder section: Usually on the right or below the divider. Add files, folders, minimized windows, and other items here.
The Trash is at the far end of the Dock and cannot be moved into the app section.
Show Recent Apps in the Dock
macOS can display recently used apps in a separate area of the Dock. This is helpful when you frequently switch between apps but do not want to keep every app permanently in the Dock.
- Open System Settings.
- Click Desktop & Dock.
- Turn on Show suggested and recent apps in Dock.
Recent apps appear near the divider. Apps that you already keep in the Dock are not duplicated there.
To remove the recent-app area, turn off Show suggested and recent apps in Dock. The apps you manually keep in the Dock remain in place.
Show or Hide Minimized Windows in the Dock
When you minimize a window, macOS can place it in the Dock.
- Open System Settings.
- Select Desktop & Dock.
- Turn on Minimize windows into application icon if you want minimized windows grouped with the app’s Dock icon.
- Turn off this setting if you want minimized windows to appear as separate icons in the Dock.
When windows are minimized into an application icon, click or Control-click the app icon to access its open windows. This can keep the Dock less crowded.
When the setting is off, minimized windows are easier to see individually, but they can take up more Dock space.
Warning: Minimizing a window does not save your work. Before quitting an app or closing a document, save any changes you want to keep.
Add Folders and Files to the Dock
Folders and files belong on the file and folder side of the Dock.
Add a folder
- Open Finder.
- Locate the folder.
- Drag it to the file and folder section of the Dock, next to the divider and away from the app icons.
- Release it when the location is highlighted.
You can add commonly used folders such as Documents, Downloads, or a project folder.
Choose how a folder opens
- Control-click the folder in the Dock.
- Choose how to view its contents:
– Fan
– Grid
– List - Choose whether clicking the folder opens it as a folder or displays its contents.
The available display options may depend on the item and your macOS configuration. A grid is useful for browsing many items, while a list can be easier to scan when file names are important.
Add a file
Drag a file into the file and folder section of the Dock. The Dock stores a shortcut to the file; it does not create a second copy.
Warning: If you later delete or move the original file, its Dock shortcut may stop working. Removing the shortcut from the Dock does not delete the original file, but deleting the original file can move it to the Trash or make it unavailable.
Customize Dock Behavior with Terminal
Most users can make all necessary changes in System Settings. Terminal is optional and should be used only if you are comfortable entering commands.
The following command makes the Dock automatically hide:
defaults write com.apple.dock autohide -bool true && killall Dock
What it changes:
defaults write com.apple.dock autohide -bool trueenables automatic hiding.killall Dockrestarts the Dock so the change takes effect.
To reverse the setting and keep the Dock visible:
defaults write com.apple.dock autohide -bool false && killall Dock
The Dock will disappear and reload briefly. This should not close your applications, but avoid using Terminal commands while important Dock-related work is in progress.
Another optional command enables magnification:
defaults write com.apple.dock magnification -bool true && killall Dock
To turn magnification off:
defaults write com.apple.dock magnification -bool false && killall Dock
Terminal commands can change system behavior immediately. If a command produces an unexpected result, use the reversal command or return to System Settings > Desktop & Dock.
Troubleshooting a Missing Dock
If you cannot see the Dock, it may be hidden, positioned on another edge, or temporarily unresponsive.
Move the pointer to the screen edge
If automatic hiding is enabled, move the pointer to the bottom, left, or right edge of the screen, depending on the Dock’s position.
Use the Dock shortcut
Press Option-Command-D. This toggles automatic hiding and may make the Dock visible again.
Check Dock settings
- Open the Apple menu.
- Choose System Settings.
- Select Desktop & Dock.
- Check Position on screen.
- Turn off Automatically hide and show the Dock.
Restart the Dock
If the Dock is frozen or does not respond, open Terminal from Applications > Utilities and run:
killall Dock
This restarts the Dock process. It does not shut down your Mac or normally close open apps, but the Dock may disappear for a moment while it reloads.
Check for a full-screen app
In full-screen view, the Dock may remain hidden until you move the pointer to its edge. Press the Escape key if you want to leave a full-screen view, or move the pointer to the Dock’s edge.
Restart the Mac
If the Dock remains missing after checking its settings and restarting the Dock, restart the Mac from the Apple menu > Restart. Before restarting, save open documents to avoid losing unsaved work.
Frequently Asked Questions
How do I customize the Dock on a Mac?
Open System Settings > Desktop & Dock to change the Dock’s size, magnification, position, automatic hiding, recent apps, and minimized-window behavior. Drag apps, files, and folders directly into the Dock to add them or rearrange them.
How do I resize the Mac Dock?
Use the Size slider in System Settings > Desktop & Dock, or drag the Dock’s divider when the resize pointer appears.
How do I hide the Dock in macOS?
Turn on Automatically hide and show the Dock in System Settings > Desktop & Dock. You can also press Option-Command-D.
How do I move the Dock from the bottom?
Go to System Settings > Desktop & Dock, find Position on screen, and choose Left or Right.
Does removing an app from the Dock uninstall it?
No. Removing an app from the Dock removes only its shortcut. The app remains on your Mac, usually in the Applications folder.
Why does an app keep appearing in my Dock?
The app may be open, included among recent apps, or set to remain in the Dock. Control-click its icon and choose Options to check whether Keep in Dock is enabled. You can also turn off Show suggested and recent apps in Dock in Desktop & Dock.
How do I keep a folder in the Dock?
Drag the folder from Finder into the file and folder section of the Dock, on the opposite side of the divider from the apps.
Can I put the Dock at the top of the screen?
The standard Dock settings provide Left, Bottom, and Right positions. They do not provide a top position.
Final Thoughts
The Dock is easiest to manage when you keep only frequently used apps and folders in it. Use System Settings > Desktop & Dock to adjust its size, position, magnification, and visibility, then organize the icons directly by dragging them into the order you prefer. If the Dock disappears, check automatic hiding and restart the Dock before trying more advanced fixes.