
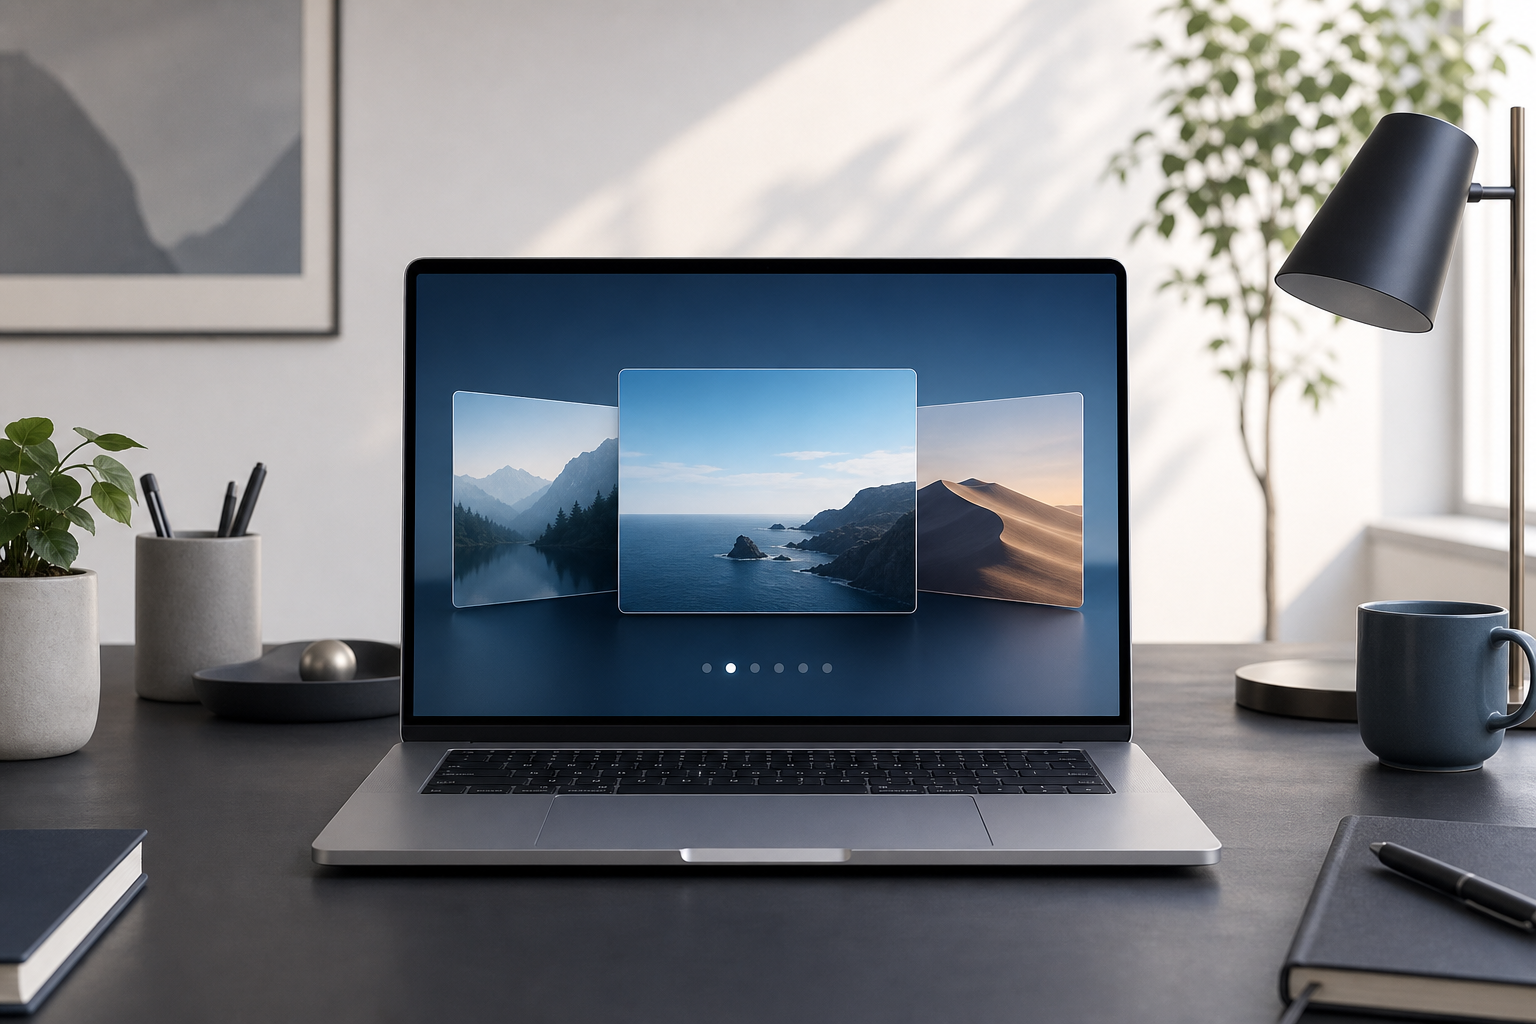
You can use multiple desktops on a Mac by creating additional Spaces in Mission Control. Each Space is a separate desktop where you can organize windows and apps—for example, one for work, one for personal tasks, and another for communication. You can switch between Spaces with a trackpad gesture, keyboard shortcut, or Mission Control.
Quick Answer
To create a second desktop on your Mac:
- Open Mission Control by pressing the Mission Control key, pressing Control–Up Arrow, or swiping up with three or four fingers on a trackpad.
- Move the pointer to the top of the screen to show the Spaces bar.
- Click the Add (+) button in the upper-right corner.
- Select the new desktop at the top of the screen to use it.
These desktops are called Spaces. You can create, switch, rearrange, rename indirectly through app organization, and remove them without deleting the apps or files inside them.
What Are Mission Control Spaces?
A Space is a separate desktop area in macOS. Each Space can contain its own arrangement of windows, although the apps themselves remain available throughout the system.
For example, you could organize your Mac like this:
- Desktop 1: Email, calendars, and messaging
- Desktop 2: Documents and web research
- Desktop 3: Music, video, or personal apps
- Desktop 4: A full-screen app
Spaces are useful because they reduce overlapping windows. Instead of keeping every app on one crowded desktop, you can place related work in separate virtual desktops and move between them quickly.
A Space is not a separate user account, and creating one does not duplicate your files or apps. It is simply another workspace within the same macOS session.
How to Create a New Desktop
You can create additional Spaces from Mission Control.
- Open Mission Control using one of these methods:
– Press the Mission Control key on your keyboard.
– Press Control–Up Arrow.
– Swipe up with three or four fingers on a trackpad.
– Move the pointer to a configured hot corner, if you have assigned one to Mission Control. - Move the pointer to the top edge of the screen. The Spaces bar appears.
- Click the Add (+) button in the upper-right corner.
- Click the new desktop thumbnail in the Spaces bar.
You can now open apps and windows in the new Space.
Create a Space on a Mac With Multiple Displays
When you use more than one display, macOS can manage Spaces in different ways depending on your display settings. If Displays have separate Spaces is enabled, each display can have its own set of Spaces.
To check this setting:
- Open the Apple menu and choose System Settings.
- Click Desktop & Dock.
- Scroll to the Mission Control section.
- Turn Displays have separate Spaces on or off.
Changing this option affects how desktops and full-screen apps behave across displays. macOS may require you to log out and log back in before the change takes effect. Save your work first.
How to Switch Between Desktops
There are several ways to move between Spaces.
Use a Trackpad Gesture
Swipe left or right with three or four fingers on the trackpad. The exact gesture can depend on your trackpad settings.
To check or change the gesture:
- Open the Apple menu and choose System Settings.
- Click Trackpad.
- Select More Gestures.
- Review the setting for Swipe between full-screen applications.
Although the setting refers to full-screen applications, the gesture also switches between desktop Spaces.
Use a Keyboard Shortcut
Press Control–Right Arrow to move to the Space on the right. Press Control–Left Arrow to move to the Space on the left.
You can also open Mission Control with Control–Up Arrow and select a desktop directly.
If these shortcuts do not work:
- Open System Settings.
- Click Keyboard.
- Click Keyboard Shortcuts.
- Select Mission Control in the sidebar.
- Make sure the shortcuts for moving left and right between Spaces are enabled.
Select a Space in Mission Control
- Open Mission Control.
- Move the pointer to the top of the screen.
- Click the desktop you want to use in the Spaces bar.
This method is useful when you have several desktops and want to jump directly to one rather than moving through them in order.
Use the Touch Bar, if Available
Some Mac models with a Touch Bar can show Spaces or app controls there. The available controls depend on your Touch Bar settings and the active app. If Spaces are not displayed, use Mission Control, a trackpad gesture, or a keyboard shortcut instead.
How to Move Windows Between Desktops
You can move a window to another Space from Mission Control or by dragging it between desktop thumbnails.
Move a Window in Mission Control
- Open Mission Control.
- Locate the window you want to move.
- Drag the window to the desktop thumbnail at the top of the screen.
- Release the window over the destination Space.
If the destination Space is not visible, move the pointer to the top of the screen and wait for the Spaces bar to appear.
Move a Window by Dragging Between Spaces
- Click and hold the window’s title bar.
- Drag the pointer to the edge of the screen.
- Continue holding the window until macOS switches to the adjacent Space.
- Move the window to the desired location and release it.
This method can be difficult with full-screen apps or windows positioned near the edge of the display. Mission Control is usually more predictable.
Move an App’s Windows to a Space
You can assign an app to a specific Space so that its windows consistently open there.
- Switch to the Space where you want the app to appear.
- Open the app.
- Control-click, or right-click, the app’s icon in the Dock.
- Choose Options.
- Under Assign To, select one of these choices:
– All Desktops: The app appears in every Space.
– This Desktop: The app is assigned to the current Space.
– None: The app opens wherever you use it, without a fixed Space assignment.
The exact menu may vary slightly depending on whether the app is open and which Space is active.
Assigning an app to This Desktop does not close the app or delete its windows. However, existing windows may move or behave differently when you change the assignment. Save important work before reorganizing an app with unsaved documents.
How to Rearrange Desktops
macOS normally creates Spaces from left to right. You can change their order in Mission Control.
- Open Mission Control.
- Move the pointer to the top of the screen.
- Click and hold a desktop thumbnail in the Spaces bar.
- Drag it left or right.
- Release it when the thumbnail is in the desired position.
Rearranging Spaces changes the order used by keyboard shortcuts and gestures. For example, after moving a desktop, Control–Right Arrow switches to the next Space in the new order.
How to Remove a Desktop Space
You can remove a Space from Mission Control when you no longer need it.
- Open Mission Control.
- Move the pointer to the top of the screen.
- Move the pointer over the desktop thumbnail you want to remove.
- Hold the Option key. An X button appears in the corner of the thumbnail.
- Click the X button.
Removing a Space does not uninstall apps or delete files. macOS moves the windows from the removed Space to another available Space, usually the adjacent desktop.
Important Warning Before Removing a Space
Closing a Space can affect the windows inside it. Most regular windows move to another desktop, but a full-screen app or a window with unsaved changes may behave differently. Save your work before removing a Space.
If you close a full-screen app’s Space, macOS may exit full-screen mode or close the full-screen Space while leaving the app open. Check the app for unsaved work before proceeding.
How Full-Screen Apps Work With Spaces
When you click the green Full Screen button in an app window, macOS usually creates a dedicated Space for that app. The full-screen app appears in the Spaces bar alongside your regular desktops.
You can switch between a full-screen app and regular Spaces with:
- Control–Left Arrow or Control–Right Arrow
- A three- or four-finger swipe left or right
- Mission Control
To leave full-screen mode:
- Move the pointer to the top of the screen.
- The menu bar appears.
- Click the green button in the upper-left corner of the window.
- Choose Exit Full Screen, if shown, or click the green button again.
Exiting full-screen mode returns the app to a regular desktop. It does not quit the app.
How to Control Where New Windows Open
macOS can automatically rearrange Spaces based on your recent use. If you want Spaces to remain in a fixed order, change the Mission Control setting for automatic rearrangement.
- Open the Apple menu and choose System Settings.
- Click Desktop & Dock.
- Scroll to Mission Control.
- Turn off Automatically rearrange Spaces based on most recent use.
When this option is enabled, macOS may change the order of desktops as you switch between them. Turning it off keeps the order more predictable, which is helpful when you rely on keyboard shortcuts.
You can also choose what happens when you switch to an app that has windows open in another Space:
- Open System Settings.
- Click Desktop & Dock.
- Scroll to the Mission Control section.
- Review When switching to an application, switch to a Space with open windows for the application.
If enabled, macOS takes you to the Space where that app’s window is open. If disabled, macOS may leave you in the current Space even when the app has windows elsewhere.
Troubleshooting Multiple Desktops on a Mac
Mission Control Does Not Open
Try another method:
- Press Control–Up Arrow.
- Swipe up with three or four fingers.
- Click the Mission Control app in the Applications folder.
- Search for Mission Control with Spotlight.
If the keyboard shortcut does not work, check System Settings > Keyboard > Keyboard Shortcuts > Mission Control.
The Spaces Bar Is Not Visible
Open Mission Control and move the pointer to the very top edge of the screen. The Spaces bar may remain hidden until the pointer reaches that area.
If you are using an app in full-screen mode, move the pointer to the top of the screen and wait briefly for the menu bar and Spaces bar to appear.
A Window Keeps Moving to Another Desktop
The app may be assigned to a specific Space or to All Desktops.
- Control-click the app’s Dock icon.
- Choose Options.
- Under Assign To, select None or This Desktop, depending on how you want the app to behave.
Also check whether Automatically rearrange Spaces based on most recent use is enabled in System Settings > Desktop & Dock.
Keyboard Shortcuts Switch to the Wrong Desktop
The order of Spaces may have changed. Open Mission Control and inspect the Spaces bar. You can drag desktop thumbnails into a different order.
If Spaces continue to move, turn off Automatically rearrange Spaces based on most recent use.
A Removed Space Still Seems to Be Present
A full-screen app may have its own Space. Quit the full-screen app or exit full-screen mode, then open Mission Control again.
Remember that removing a regular desktop moves its windows elsewhere; it does not close every app associated with those windows.
Frequently Asked Questions
How many desktops can I create on a Mac?
macOS allows multiple Spaces, but the practical number depends on your display size, workflow, and how many windows you can comfortably manage. Creating too many desktops can make navigation harder, so use separate Spaces for meaningful groups of tasks.
Do multiple desktops use more memory?
The Spaces themselves are lightweight. However, apps and windows open across those Spaces still use memory and other system resources. Creating more desktops does not make resource-intensive apps less demanding.
Can I rename a desktop Space?
Regular desktop Spaces do not have a built-in name field. You can identify them by their position, the apps assigned to them, or the windows they contain. Full-screen apps appear in the Spaces bar using the app’s name.
Can I have the same app in more than one Space?
Yes. You can assign an app to All Desktops, or leave it assigned to None and open or move its windows as needed. Individual windows can also be moved between Spaces.
Does closing a Space delete my files?
No. Removing a Space does not delete files or uninstall apps. macOS moves most windows to another Space. Save your work first because windows with unsaved changes or full-screen apps may not transition exactly as expected.
Can I use multiple desktops with an external monitor?
Yes. The way Spaces work across multiple displays depends partly on the Displays have separate Spaces setting in System Settings > Desktop & Dock. Changing that setting may require you to log out and back in, so save your work beforehand.
Can I move a desktop Space to another Mac?
No. Spaces are part of the current Mac’s desktop organization. They are not files that you can export or transfer independently. You can recreate the arrangement manually on another Mac.
Final Thoughts
Multiple desktops on a Mac make it easier to separate work, communication, entertainment, and personal tasks. Start with two or three Spaces, use Mission Control to organize them, and assign frequently used apps to predictable desktops. Keyboard shortcuts and trackpad gestures make switching fast, while rearranging or removing Spaces lets you adjust your workspace as your needs change.