
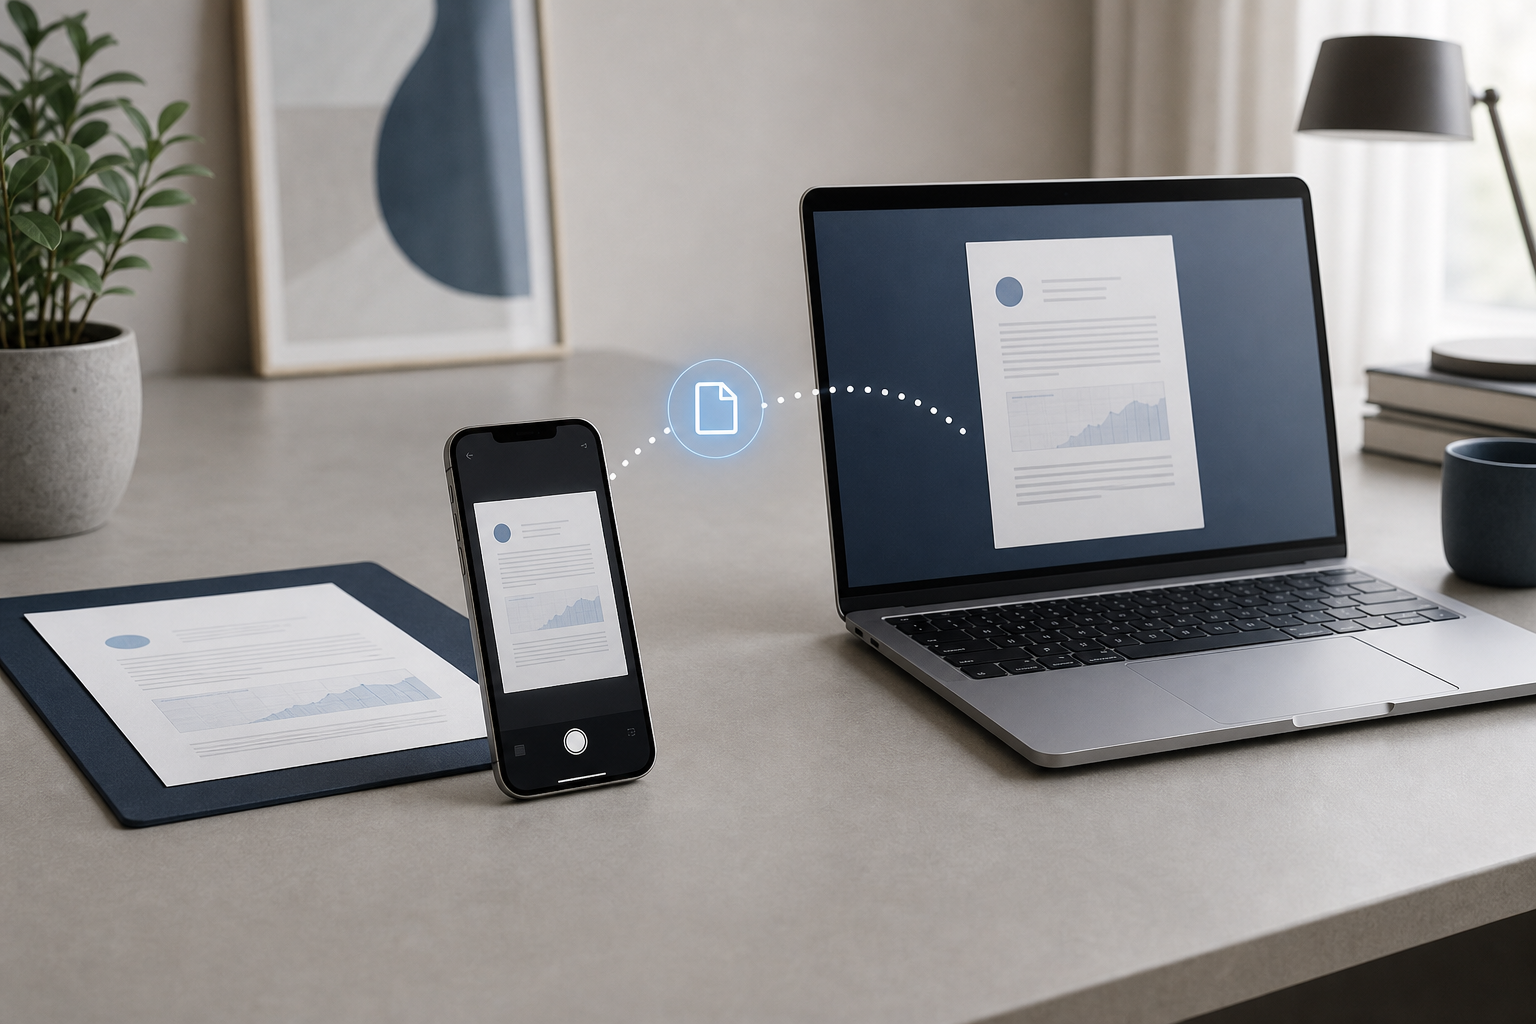
You can scan a paper document to your Mac with an iPhone or iPad using Continuity Camera. From a supported Mac app, Control-click or open the File menu, choose Insert from iPhone or iPad, select Scan Documents, and use your iPhone or iPad camera to capture the pages. The scan is sent directly to the Mac, where you can save or insert it as a PDF.
Quick Answer
To scan a document to your Mac:
- Place the document on a flat, well-lit surface.
- Open Finder, Notes, Mail, Messages, or another app that supports Continuity Camera.
- Choose File > Insert from iPhone or iPad > Scan Documents. In some apps, you can Control-click in a document area and choose the same option.
- Select your nearby iPhone or iPad.
- Position the document in the camera view. The device can often capture it automatically.
- Scan additional pages if needed, then tap Save or Done on the iPhone or iPad.
- The scan appears on your Mac, usually as a PDF or inserted document.
Continuity Camera works best when both devices are signed in to the same Apple Account, have Wi-Fi and Bluetooth turned on, and are near each other.
What You Need for Continuity Camera Scanning
Before starting, make sure your devices meet the basic Continuity Camera requirements:
- A Mac and an iPhone or iPad that support Continuity features
- The same Apple Account signed in on both devices
- Two-factor authentication enabled for that Apple Account
- Wi-Fi turned on for both devices
- Bluetooth turned on for both devices
- The devices located near each other
- The iPhone or iPad unlocked and available
- A supported Mac app with an insertion or import command
Your iPhone or iPad does not normally need to be connected to the Mac with a USB cable. The scan is transferred wirelessly.
Continuity Camera is different from simply taking a picture. It provides a scanning workflow that can detect the edges of a sheet, correct its perspective, and combine several pages into one document.
Use a suitable surface and lighting
Place the document on a contrasting, flat surface. For example, a white page is easier for the camera to detect on a dark table than on another white sheet of paper. Avoid strong shadows, glare, and curled corners.
For receipts, forms, and other small documents, move the iPhone or iPad far enough away to include the entire page. You can crop or rescan if the edges are not detected correctly.
Scan a Document to Finder
Finder is useful when you want to create a PDF file in a specific folder, such as Documents, Desktop, or a project folder.
- Open Finder from the Dock.
- Open the folder where you want to save the scan.
- Control-click an empty area in the folder window.
- Choose Import from iPhone or iPad or Insert from iPhone or iPad, depending on the available command and macOS interface.
- Choose Scan Documents.
- If more than one nearby device is available, select the iPhone or iPad you want to use.
- Place the document in the camera view.
- Wait for the device to detect the page and capture it, or press the shutter button to take the scan manually.
- Review the page. Retake it if necessary.
- Scan more pages or tap Save or Done when you have finished.
The resulting scan should appear in the Finder folder. If macOS asks you to enter a file name or choose a location, do so before closing the workflow.
Important Finder limitation
The exact wording and placement of the command can vary by macOS version, Finder view, and context. If you do not see an import or insert command when Control-clicking in a folder, use an app-based method such as Notes or Mail, then save or export the resulting PDF.
Scan a Document in Notes
Notes is convenient when you want to keep a scan with related text, checklists, or other information.
- Open Notes.
- Select an existing note or create a new note.
- Click where you want the scan to appear.
- Choose File > Insert from iPhone or iPad > Scan Documents.
- Select your iPhone or iPad.
- Position the document in view of the camera.
- Let the device capture the page automatically, or capture it manually.
- Continue scanning additional pages if needed.
- Tap Save or Done on the iPhone or iPad.
The scan is inserted into the note. To create a separate PDF file, Control-click the scan in the note and look for an export or sharing option, or use the system print dialog:
- Select the note or scanned document.
- Choose File > Print.
- Open the PDF menu in the print dialog.
- Choose Save as PDF.
- Select a location and click Save.
The exact export options can differ depending on whether you are printing the entire note or selecting an individual scan.
Scan a Document in Mail
Mail can be useful when you need to attach a scan to a new message.
- Open Mail.
- Create a new message or reply to an existing message.
- Click in the message body or use the attachment controls.
- Choose File > Insert from iPhone or iPad > Scan Documents, if available.
- Select your iPhone or iPad.
- Scan the document.
- Add more pages if necessary, then tap Save or Done.
The scan is added to the message, generally as a PDF attachment. Before sending, check the attachment and recipient carefully. If you close the message, delete the draft, or discard it, you may lose the unsent message and its attachment depending on Mail’s draft-saving behavior. Save the scan separately first if it is important.
Scan a Document in Messages
You may also be able to scan a document directly into a message.
- Open Messages.
- Open an existing conversation or start a new one.
- Click in the message field.
- Choose File > Insert from iPhone or iPad > Scan Documents, if the command is available.
- Select the nearby iPhone or iPad.
- Capture the document.
- Add any additional pages.
- Tap Save or Done.
- Review the attachment before sending.
A scan inserted into Messages is intended for sharing. If you need an archival copy, save or export the scan to Finder before sending it.
Add Multiple Pages to One PDF
Continuity Camera can combine several scanned pages into one document during the same scanning session.
- Start Scan Documents from Finder or a supported app.
- Capture the first page.
- Move the next page into position.
- Capture the next page when the camera is ready.
- Repeat until every page is scanned.
- Review the pages on the iPhone or iPad.
- Remove any incorrect pages or retake them if those controls are available.
- Tap Save or Done.
Keep the pages in the correct order while scanning. If the final document is out of order, you may need to rescan it or rearrange the pages later in a PDF editor.
For multipage documents, scan every page in one session when possible. Starting separate sessions can create several files or attachments instead of one combined PDF.
Save the Scan as a PDF
The way you save a scan depends on the app receiving it.
From Finder
If you started the scan in Finder, it should be saved in the folder you opened. Rename it if needed by selecting the file and pressing Return, then entering a new name.
From Notes
You can usually export or print a note or scan to PDF:
- Select the note or scanned content.
- Choose File > Print.
- Click the PDF menu.
- Choose Save as PDF.
- Enter a name and select a destination.
- Click Save.
If the scan is stored in a note, keep the note until you verify that the exported PDF opens correctly.
From Mail or Messages
Attachments can be saved from the message:
- Open the message containing the scan.
- Control-click the PDF attachment.
- Choose Save Attachment or a similar save command.
- Select a folder and click Save.
The wording can vary based on the type of attachment and the app’s layout.
Improve Scan Quality
Use these practical steps for clearer documents:
- Clean the iPhone or iPad camera lens with a soft, lint-free cloth.
- Use even lighting from both sides of the document.
- Avoid placing the device directly under a bright lamp that creates glare.
- Flatten folded or curled pages.
- Keep text and graphics inside the detected page boundary.
- Hold the device steady when capturing manually.
- Use a contrasting background.
- Review every page before saving.
- Rescan pages with shadows, cut-off text, blur, or incorrect rotation.
For documents containing sensitive information, store the PDF in a protected location and share it only with the intended recipient.
Troubleshooting Continuity Camera Scanning
The iPhone or iPad does not appear
Check the following:
- Confirm that both devices are signed in to the same Apple Account.
- Turn on Wi-Fi and Bluetooth on both devices.
- Move the devices closer together.
- Unlock the iPhone or iPad.
- Make sure the iPhone or iPad is not actively being used by another Continuity Camera session.
- Quit and reopen the Mac app.
- Lock and unlock the iPhone or iPad.
- Restart both devices if the problem continues.
If you use a managed work or school device, an administrator may restrict Continuity features.
The scanning command is missing
Not every Mac app supports Continuity Camera scanning. Try Finder, Notes, Mail, or Messages. The command may also appear only after you click inside an editable area or Control-click in the correct location.
Look under File for Insert from iPhone or iPad or a similarly named command. If the app is not designed to receive files or images, it may not offer the feature.
The camera captures the wrong page or misses the edges
Use a contrasting background and increase the light without creating glare. Move the device farther away so the complete page fits in the camera view. If automatic detection fails, use the manual shutter control.
The scan is blurry
Clean the camera lens, stabilize the iPhone or iPad, and improve the lighting. Avoid moving the document or device during capture. Rescan any page that is difficult to read before saving the final PDF.
The scan stops before all pages are added
Keep the scanning workflow open until all pages are captured and saved. If the session ends, start a new scan and capture the remaining pages. Depending on the app, the pages may not be combined automatically if they are scanned in separate sessions.
The scan appears in the wrong place
In Finder, check the folder that was open when you started the scan. In Notes, look at the selected note. In Mail or Messages, check the current draft or conversation. If you cannot find the file, use the app’s save or export command before starting another scan.
A cable-connected iPhone or iPad still is not detected
A cable is generally not required for Continuity Camera. Detection depends on the Continuity requirements, including the same Apple Account, Wi-Fi, Bluetooth, and nearby devices. Disconnecting and reconnecting a cable may not resolve an account or wireless connectivity problem.
Frequently Asked Questions
Can I scan a document to a Mac without a scanner?
Yes. An iPhone or iPad can act as the camera for Continuity Camera scanning. The scan is transferred to a supported Mac app and can be saved as a PDF.
Does the iPhone or iPad need to be plugged into the Mac?
Usually, no. Continuity Camera uses the nearby devices’ wireless connections. Keep Wi-Fi and Bluetooth enabled on both devices.
Can I scan multiple pages into one PDF?
Yes. Continue capturing pages during the same Scan Documents session, then save or finish the session after the last page. Review the page order before exporting or sending the document.
Where does the scan go?
It goes to the app or Finder location that started the scan. A Finder scan appears in the selected folder. A scan started in Notes appears in the selected note, while a scan started in Mail or Messages is added to the current draft or conversation.
Can I scan receipts and small documents?
Yes. Place the receipt or other small document on a contrasting surface and make sure the entire item is visible. Check the result for cropped edges and readable text.
Why can’t I find “Scan Documents”?
The command is available only in apps and locations that support Continuity Camera insertion. Click inside an editable area, check the File menu, or try Finder, Notes, Mail, or Messages.
Can I scan directly into a PDF file?
Yes. Start the scan from Finder when possible, or insert it into Notes and use the print dialog’s Save as PDF option. The available save method depends on the app.
Is a Continuity Camera scan searchable?
A scan is generally a picture of the document placed into a PDF or another file. Whether its text can be searched depends on the app and any optical character recognition feature applied afterward. If you need searchable text, verify the result before relying on it.
Final Thoughts
Continuity Camera lets you scan paper documents to a Mac without a separate scanner. For a quick file, start in Finder; for notes or email, scan directly into Notes or Mail. Keep both devices nearby, use the same Apple Account with Wi-Fi and Bluetooth enabled, and review every page before saving the final PDF.