
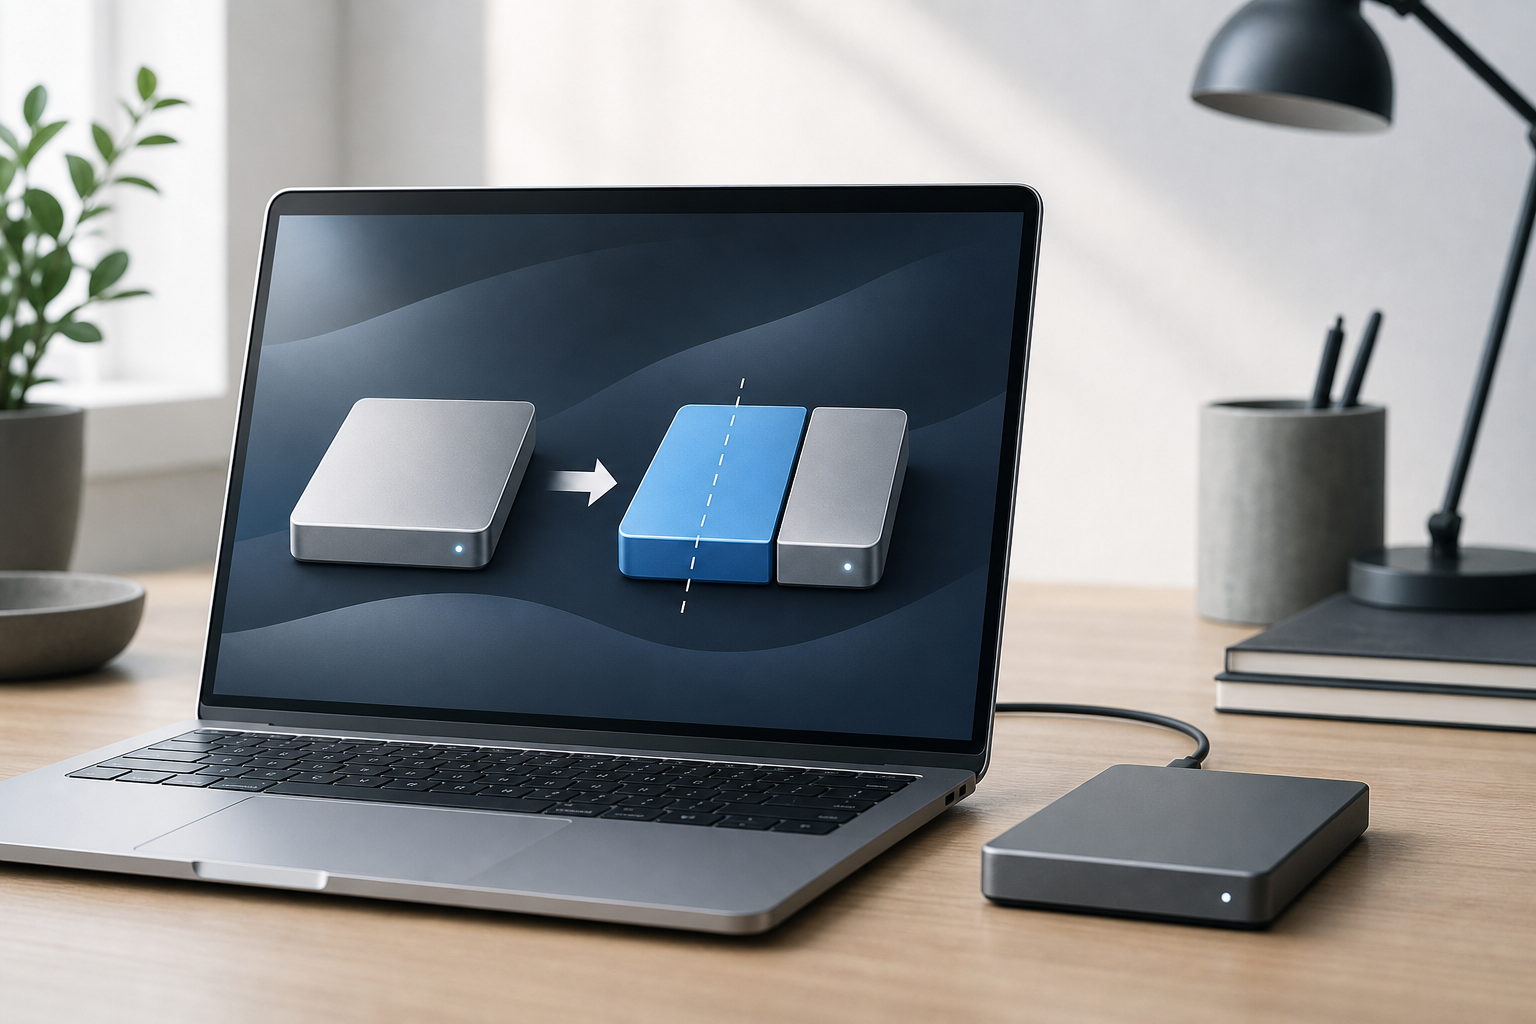
To partition an external drive on a Mac, use Disk Utility. Select the physical drive in the sidebar, choose Partition, select GUID Partition Map if you are erasing the drive, and create one or more partitions with the file systems you need.
Important: Partitioning can erase data, especially when you change the drive’s partition scheme or resize a partition. Back up the drive before you begin, and make sure important files are also stored somewhere else.
Quick Answer
- Connect the external drive to your Mac.
- Open Disk Utility from Applications > Utilities.
- Choose View > Show All Devices.
- Select the physical external drive, not only a volume beneath it.
- Back up the drive before making changes.
- If necessary, erase it using GUID Partition Map.
- Click Partition, add or resize partitions, choose a name and format, and click Apply.
- Test each partition before copying important files back.
For many modern Mac users, multiple APFS volumes inside one APFS container may be more flexible than traditional partitions. The better choice depends on how you plan to use the drive.
What Is a Drive Partition?
A partition is a separate section of a physical storage device. macOS treats each partition as an independent storage area, and each one can have its own file system and name.
For example, you could divide a 2 TB external drive into:
- A 1 TB APFS partition for Mac backups or Mac-only files
- A 700 GB exFAT partition for sharing files with Windows PCs
- A 300 GB partition for testing another operating system
Partitions are created at the drive’s partition-map level. The partition map tells the computer how the physical drive is divided and where each partition begins and ends.
A partition is different from a folder. A folder shares space with other folders, while a partition has a defined area of the drive. A partition is also different from an APFS volume, although both appear in Finder as separate storage locations.
Partitions Versus APFS Volumes
Before changing the drive, decide whether you need traditional partitions or multiple APFS volumes.
Traditional partitions
Partitions divide the physical storage into fixed regions. If you create a 500 GB partition, that partition generally has access to that region only. Free space in another partition is not automatically available to it.
Partitions are useful when you need:
- Different file systems on the same drive
- A Mac-compatible area and a Windows-compatible area
- A separate area for an operating system
- Stronger physical separation between storage areas
- A partition that must be a specific size
APFS volumes
APFS is Apple’s modern file system. Within an APFS container, you can create multiple APFS volumes that share available space. Unlike traditional fixed-size partitions, APFS volumes can usually grow and shrink as their storage needs change, as long as the container has free space.
Multiple APFS volumes are often a better choice when:
- The drive will be used only with Macs
- You want separate storage locations without permanently assigning each one a fixed size
- You need a test volume and a regular data volume
- You want to avoid wasting unused space in a fixed partition
APFS volumes require an APFS-formatted container and are not the right choice for general Windows compatibility. For broad compatibility with Windows and macOS, exFAT is commonly used, but it does not provide APFS features.
Choose the Right Partition Scheme and Format
GUID Partition Map
For a drive used with a Mac, GUID Partition Map is usually the appropriate partition scheme. It is the modern partition layout used by current Mac systems and supports large drives and multiple partitions.
When erasing a drive in Disk Utility, select:
- Scheme: GUID Partition Map
- Format: Choose based on how you will use the drive
APFS
Choose APFS when the drive will primarily be used with Macs. APFS is suitable for Mac data, applications, and many Mac backup or system-related uses.
If you plan to create multiple APFS volumes, first format the drive or container as APFS. You can then add volumes without creating fixed-size partitions.
exFAT
Choose exFAT when you need to use the drive with both macOS and Windows. It supports large files and is generally more suitable than older FAT formats for modern external drives.
exFAT does not provide all the features of APFS, and it is not the preferred format for every Mac-specific purpose.
Mac OS Extended
Mac OS Extended (Journaled) may be needed for certain older Mac workflows or older software. It is not the default choice for most new Mac-only storage because APFS is Apple’s newer file system.
Avoid choosing a format casually
Erasing a drive removes its existing volumes and files. If you are unsure which format to use, check the requirements of the devices and applications that will access the drive before erasing it.
Prepare Before Partitioning
Partitioning is a storage-management operation, not a replacement for a backup.
Before opening Disk Utility:
- Copy important files to another drive or a trusted backup location.
- Eject the external drive from other computers or devices.
- Close files stored on the drive.
- Quit applications that may be using the drive.
- Confirm that the external drive has a stable connection.
- If the drive is encrypted, make sure you know its password.
- Decide how much space each partition needs.
Warning: Do not disconnect the drive while Disk Utility is erasing, partitioning, resizing, or repairing it. Interrupting the process can make the drive or its data unavailable.
Create Partitions on an External Drive
The following steps are appropriate when the drive already has the correct partition scheme and you want to divide its available space.
1. Open Disk Utility
Open Finder, select Applications in the sidebar, open the Utilities folder, and then open Disk Utility.
You can also press Command-Space, type Disk Utility, and press Return.
2. Show the physical drives
In the menu bar, choose View > Show All Devices.
This displays the physical drive, its containers, and its volumes. A typical structure may look like this:
- Physical external drive
- APFS container
- APFS volume
Select the physical external drive when you need to change the drive’s partition layout. Selecting only an existing volume may show different options.
3. Select the external drive
In the Disk Utility sidebar, identify the external drive by its name, size, and connection. Select the top-level physical device rather than the volume below it.
Be careful not to select your Mac’s internal drive.
4. Click Partition
Click Partition in the Disk Utility toolbar.
If the button is unavailable, the selected item may be a volume rather than the physical device, or the drive may be using a layout that does not support the operation in its current state.
5. Add a partition
In the partition layout window, click the Add button, which may appear as a plus button.
Choose the new partition and enter:
- A name
- A format
- A size
You can enter the size directly or adjust the partition layout graphic, depending on the controls Disk Utility displays.
Use a name that clearly describes the partition, such as Mac Files, Shared Files, or Archive.
6. Choose the format
Select APFS for Mac-only use or exFAT when the partition must be accessible from both Mac and Windows computers.
If the drive is already divided into partitions with different formats, each partition can have its own format.
7. Apply the changes
Click Apply, review the summary, and then click Partition or Continue, depending on the options displayed.
Warning: Disk Utility may need to unmount the drive or its volumes. Unmounting makes them temporarily unavailable and can close access to open files. Save your work and quit applications using the drive before continuing.
Wait until Disk Utility reports that the operation has finished. Then click Done.
8. Verify the new partitions
Open Finder and look under Locations in the sidebar. Each mounted partition should appear as a separate drive.
Open each one and copy a small test file to confirm that it works. Eject the external drive using the Eject button in Finder before disconnecting it.
Erase and Repartition a Drive
If the drive has an old layout, unwanted partitions, or a partition scheme that does not work for your needs, erasing it may be the simplest solution.
Warning: This method deletes all volumes and data on the selected physical drive. Do not continue until you have verified your backup.
- Open Disk Utility.
- Choose View > Show All Devices.
- Select the physical external drive at the top of the sidebar.
- Click Erase.
- Enter a name for the first volume.
- Choose a format, such as APFS or exFAT.
- Set Scheme to GUID Partition Map.
- Click Erase.
- Click Done after the operation finishes.
- Select the newly created volume and click Partition.
- Add and configure the additional partitions.
- Click Apply and wait for the operation to finish.
If you need several Mac-only storage areas, consider creating multiple APFS volumes instead of repeatedly creating fixed-size partitions.
Create Multiple APFS Volumes Instead
Multiple APFS volumes can be a useful alternative to partitioning when the external drive is dedicated to Mac use.
Create an APFS volume
- Open Disk Utility.
- Choose View > Show All Devices.
- Select the existing APFS container or an APFS volume within it.
- Click the Add Volume button in the toolbar.
- Enter a name.
- Confirm that the format is an APFS format.
- If needed, click Size Options to set a reserve size or quota.
- Click Add.
A reserve size can help ensure that a volume has a minimum amount of space available. A quota can limit the maximum space that the volume can use. Leave these options unchanged if you want the volumes to share the container’s available space normally.
Why this may be better
Suppose you want separate volumes named Projects and Archive. With traditional partitions, you must decide how much space to permanently assign to each. With APFS volumes, both can use space from the same APFS container as needed.
However, APFS volumes do not make the drive compatible with Windows, and they do not eliminate the need for backups. If the physical drive fails, every partition or volume on it can become unavailable.
Resize an Existing Partition
Disk Utility may let you resize an existing partition if there is usable free space and the drive’s layout supports the change.
Warning: Resizing changes the boundaries of stored data. Back up the drive first, close all files on it, and do not disconnect it during the operation.
- Open Disk Utility.
- Choose View > Show All Devices.
- Select the relevant physical drive.
- Click Partition.
- Select the partition you want to resize.
- Enter a new size or drag the partition boundary in the layout.
- Review the resulting layout carefully.
- Click Apply and confirm the operation.
- Wait for Disk Utility to finish before using or disconnecting the drive.
You generally cannot enlarge a partition into space that is not adjacent to it in the partition layout. You may need to delete or reorganize another partition first, which can cause data loss.
Remove a Partition
Removing a partition deletes the data stored on that partition.
- Back up the files on the partition.
- Open Disk Utility.
- Choose View > Show All Devices.
- Select the physical drive.
- Click Partition.
- Select the partition you want to remove.
- Click the Remove or minus button.
- Review how the remaining space will be assigned.
- Click Apply and confirm.
Do not remove a partition if you are unsure what it contains. Some partitions may be used for recovery, operating systems, encryption, or specialized backup software.
Troubleshooting
The external drive does not appear
Try the following:
- Check the cable and adapter.
- Connect the drive directly to the Mac instead of through a hub.
- Try another port.
- Confirm that the drive has power, if it requires an external power supply.
- Open Disk Utility and choose View > Show All Devices.
- Restart the Mac and reconnect the drive.
If the physical device does not appear in Disk Utility, the issue may involve the cable, enclosure, power source, adapter, or drive hardware.
The Partition button is unavailable
Select the physical drive, not only a volume beneath it. Also check whether another application is using the drive. Save files, quit open applications, and try again.
Some drive layouts cannot be resized in place. In that case, back up the data, erase the drive, and create the desired layout from the beginning.
Disk Utility reports that the operation failed
Do not immediately repeat a destructive operation. Check whether the drive is still mounted and whether the data is accessible.
If the drive contains important files, copy them to another location first. You can also select the affected volume in Disk Utility and click First Aid. First Aid checks and repairs certain file-system problems, but it is not a backup and may not recover every type of failure.
The partition is not visible in Finder
Open Disk Utility and check whether the volume is mounted. Select it and click Mount if that option is available.
Also check Finder settings: open Finder > Settings, select General or Sidebar, and make sure external disks are allowed to appear where you expect them.
Windows cannot read the partition
Windows may not read APFS without additional software. If the drive must work with both macOS and Windows, create or reformat a partition as exFAT. Back up any files first because changing the format erases the partition.
The drive is read-only
A drive may be read-only because of its file system, permissions, encryption, hardware failure, or a physical write-protection switch. Some formats commonly used for Windows storage may have limited write support on macOS.
Do not erase the drive until you have copied any files you need to keep.
Frequently Asked Questions
Does partitioning an external drive erase everything?
Not always. Adding or resizing partitions may preserve existing data when Disk Utility can safely perform the operation. However, erasing the physical drive, changing its partition scheme, removing a partition, or reformatting a volume deletes data. Always make a backup first.
Should I use APFS or exFAT?
Use APFS for a drive that will be used mainly with Macs and may need Mac-specific features. Use exFAT when you need to move files between macOS and Windows.
Is GUID Partition Map required for every external drive?
No. Other schemes exist for older systems and specialized uses. GUID Partition Map is generally the appropriate choice for a modern Mac-oriented drive, particularly when you are erasing and setting up a new layout.
Can I partition a drive without losing data?
Sometimes. Disk Utility may be able to add or resize partitions without erasing unrelated data. The result depends on the current partition map, file system, available free space, and the position of data on the drive. A backup is still essential.
Are APFS volumes better than partitions?
They can be, when the drive is used only with Macs. APFS volumes share space within an APFS container, which can be more flexible than fixed-size partitions. Traditional partitions remain useful when you need different file systems, Windows compatibility, or fixed physical storage areas.
Can I use one external drive for Mac and Windows?
Yes. Create a partition formatted as exFAT for shared files. If you also need Mac-only storage, you can create a separate APFS partition, provided you back up the drive and plan the layout carefully.
Can I partition a drive used for Time Machine?
Changing the layout of a backup drive can make existing backups unavailable or require the backup volume to be erased. Check your backup setup first, and create a separate backup before changing partitions.
Final Thoughts
Disk Utility makes it possible to divide an external drive into separate storage areas, but the safest setup depends on how you will use the drive. Choose GUID Partition Map for a modern Mac-oriented layout, use APFS for Mac-only storage, and choose exFAT for Mac-and-Windows file sharing.
Use traditional partitions when you need fixed sizes or different file systems. If the drive is Mac-only and you simply want separate storage locations, multiple APFS volumes may provide more flexible use of the available space. In every case, back up the drive before making changes and verify the results before storing irreplaceable files.