
Quick Answer
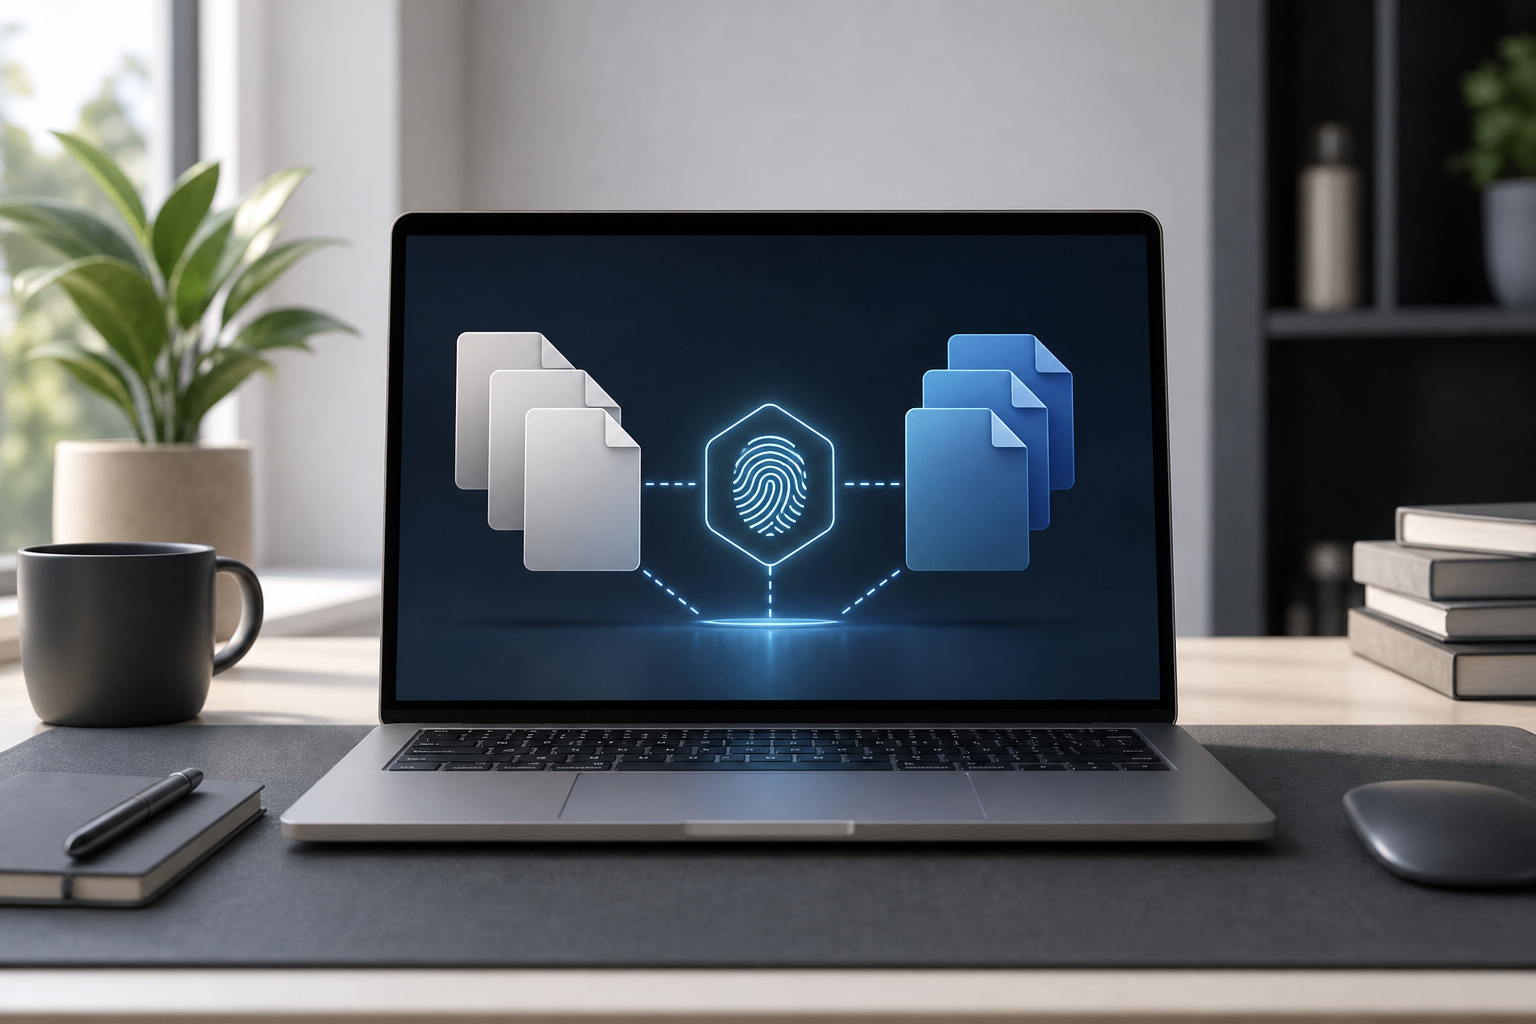
To find duplicate files by hash on a Mac, use Terminal to calculate a cryptographic hash for every file in a folder, sort matching hashes together, and review groups that contain more than one file. A hash is a fingerprint calculated from a file’s contents. Files with the same size and hash are highly likely to be identical, but you should still review their paths before deleting anything.
The commands below find duplicates without changing or deleting files.
What “duplicate by hash” means
A filename does not determine whether two files are duplicates. Two files can have different names or reside in different folders while containing exactly the same data.
A hash is a fixed-length string calculated from a file’s contents. If two files produce the same hash, their contents match for practical duplicate-finding purposes. This makes hashes more reliable than comparing filenames, dates, or file sizes alone.
This guide uses:
findto locate filesshasumto calculate SHA-256 hashessortto group identical hashesawkto display only hashes that occur more than once
The process is read-only. It does not move, rename, modify, or delete files.
Important: Never delete a file solely because it appears in a duplicate group. One copy may be stored in a backup, synchronization folder, application library, or location with different permissions or purpose.
Before you start
Choose a specific folder to scan rather than your entire Mac. Scanning a focused location is faster and reduces the chance of including system files, application data, backups, or cloud-storage placeholders.
You will need the folder’s path. An easy way to obtain it is to drag the folder from Finder into a Terminal window. macOS inserts the correct path, including any necessary escaping for spaces.
For example, if you want to scan a folder named Documents in your home folder, its path is usually:
"$HOME/Documents"
The quotation marks protect the path if it contains spaces or special characters.
Terminal may need permission to access protected folders. If macOS displays a permission error, do not work around it by granting broad access unnecessarily. Instead, scan a folder you own or review Terminal’s access in System Settings > Privacy & Security.
Method 1: Find duplicates with SHA-256
This method creates a temporary report in your home folder. It leaves the files being scanned unchanged.
1. Set the folder to scan
The next command assigns the folder path to a shell variable. Replace the example path with the folder you want to inspect.
SCAN_DIR="$HOME/Documents"
This command changes only the current Terminal session’s variable. It does not rename, move, or modify the folder. To replace the setting, run the command again with a different path:
SCAN_DIR="$HOME/Another Folder"
If you want to confirm the selected path before scanning, run:
printf 'Scanning: %sn' "$SCAN_DIR"
2. Create a duplicate report
The following command finds regular files below the selected folder, calculates a SHA-256 hash for each file, sorts the results, and saves them to a temporary report.
find "$SCAN_DIR" -type f -exec shasum -a 256 "{}" ; | sort > "$HOME/duplicate-hashes.txt"
What it does:
find "$SCAN_DIR" -type fsearches the selected folder and its subfolders for regular files.-exec shasum -a 256 "{}" ;calculates a SHA-256 hash for each file.sortputs identical hashes next to each other.>writes the sorted results toduplicate-hashes.txtin your home folder.
This command can take time when the folder contains many large files because each file must be read. It does not change the scanned files.
The report contains one line per file. The hash appears first, followed by the file path. Because paths can contain spaces, do not treat spaces as reliable column separators when manually interpreting the report.
3. Display only repeated hashes
The next command reads the report and prints only groups whose hash appears more than once.
awk '{
  hash=$1
  count[hash]++
  lines[hash]=lines[hash] "n" $0
}
END {
  for (hash in count)
    if (count[hash] > 1)
      print "Hash:", hash, "Files:", count[hash], lines[hash]
}' "$HOME/duplicate-hashes.txt"
This command does not alter the report or any scanned files. It counts each hash and displays the complete report lines for hashes that occur multiple times.
Review the paths carefully. A duplicate group might contain:
- Two copies that you genuinely no longer need
- A file in a backup folder
- A file inside a cloud-synchronization directory
- An application-managed file that should not be removed manually
- Files with identical contents but different intended uses
Method 2: Use file size as an initial filter
Hashing every file is reliable but can be slow for a large folder. You can first group files by byte size, then hash only files whose sizes match. Identical files must have the same size, so this safely eliminates many files from consideration. Files with different sizes cannot be exact duplicates.
The following command creates a size-based list:
find "$SCAN_DIR" -type f -exec stat -f '%z %N' "{}" ; | sort -n > "$HOME/file-sizes.txt"
What it does:
stat -f '%z %N'prints each file’s size in bytes and its path.sort -nsorts the list numerically by size.- The output is saved as
file-sizes.txtin your home folder.
This command only reads file metadata and writes a new report. It does not modify the files.
To remove the temporary size report after reviewing it, use:
rm "$HOME/file-sizes.txt"
Warning:
rmpermanently removes the report without moving it to the Trash. Do not run this command until you are sure you no longer need the report. If you want to keep it, leave it in place or delete it from Finder so it can go to the Trash.
For most users, the complete SHA-256 method is simpler and less error-prone. The size report is useful when you want an initial overview or are working with a very large collection.
Method 3: Save a reusable duplicate-finding script
If you regularly inspect folders, you can save the process as a small script. The script below accepts a folder path, creates a hash report in your home folder, and displays repeated hashes.
First, create the script file:
cat > "$HOME/find-duplicates.sh" <<'EOF'
#!/bin/bash

SCAN_DIR="${1:-$HOME/Documents}"
REPORT="$HOME/duplicate-hashes.txt"

find "$SCAN_DIR" -type f -exec shasum -a 256 "{}" ; | sort > "$REPORT"

awk '{
  hash=$1
  count[hash]++
  lines[hash]=lines[hash] "n" $0
}
END {
  for (hash in count)
    if (count[hash] > 1)
      print "Hash:", hash, "Files:", count[hash], lines[hash]
}' "$REPORT"

printf 'nFull report: %sn' "$REPORT"
EOF
This creates a script in your home folder. It does not scan files yet. To make the script executable, run:
chmod u+x "$HOME/find-duplicates.sh"
chmod changes the script’s permission so your user account can run it. It does not change permissions on the files being scanned. To remove the executable permission later, run:
chmod u-x "$HOME/find-duplicates.sh"
Run the script by supplying the folder you want to scan:
"$HOME/find-duplicates.sh" "$HOME/Documents"
You can also drag a folder into Terminal after typing the command, or replace the path with another location.
The script always writes the full hash report to duplicate-hashes.txt in your home folder. Each new run replaces that report. If you want to preserve an earlier report, copy it first:
cp "$HOME/duplicate-hashes.txt" "$HOME/duplicate-hashes-previous.txt"
This creates a separate copy of the report and does not affect the scanned files.
How to decide which copy to keep
Hash matching tells you that file contents match. It does not tell you which path is most useful to keep.
Before deleting anything, check:
- The complete path. Confirm that the file is not in a backup, application library, or synchronization folder.
- The file type. Be cautious with packages, database files, virtual machines, and application data.
- Whether the file is synchronized. Deleting one copy may cause a cloud service to delete it elsewhere.
- Whether an application is using it. Close the related application first and save any work.
- Your backup status. Make sure a recoverable backup exists before removing personal files.
If you decide to remove a duplicate, Finder is usually safer for beginners because deleted items generally go to the Trash. Locate the file by copying its path from the report, then use Finder to review and move it to the Trash.
Warning: Do not use
rmfor deletion unless you fully understand the path and accept that Terminal does not provide the same straightforward recovery experience as the Trash. A mistaken path can remove the wrong file, and shell commands can delete files without an undo prompt.
If you do use rm, verify the exact path first:
printf '%sn' "/exact/path/to/file"
Do not run a deletion command until the displayed path is exactly the file you intend to remove. If you close an application before cleanup, reopen it afterward and verify that its files and libraries still work.
Troubleshooting
“Permission denied” appears
The account running Terminal may not have access to the folder. Try a folder inside your home folder first. If you need to scan a protected location, review System Settings > Privacy & Security and grant access only when necessary.
Do not add sudo automatically. Running the scan with elevated privileges can expose more of the file system than intended and is not required for ordinary personal folders.
The scan appears to stop
Hashing reads every selected file, so there may be no visible progress while a large file is being processed. Avoid interrupting the command unless necessary. Press Control-C to stop it if you must.
If you interrupt the command, it may leave a partial report. Remove that report only if you no longer need it:
rm "$HOME/duplicate-hashes.txt"
This deletes the report, not the files that were scanned. Confirm the path before pressing Return.
A folder path contains spaces
Quote the path:
find "$HOME/My Documents" -type f -exec shasum -a 256 "{}" ;
Dragging the folder into Terminal is often the safest way to insert its path correctly.
The report shows unexpected files
find includes files in subfolders, hidden files, and files that may be managed by applications. Scan a narrower folder or inspect the paths before taking action. If you do not want to include a particular area, select a more specific starting directory rather than trying to delete lines from the report.
Files have the same name but different hashes
They are not identical by content. Keep both unless you have another reason to remove one. A filename comparison alone is not a duplicate test.
Files have the same size but different hashes
They are also not identical. Matching size is only a preliminary filter; the hash is what identifies matching content.
Frequently Asked Questions
Is SHA-256 safe for finding duplicates?
Yes. SHA-256 is a practical content fingerprint for this purpose. A matching hash is treated as a content match, but you should still review file paths and use normal caution before deleting anything.
Does this method delete files?
No. The commands in the main workflow only read files and create reports. Deletion requires a separate action, which should be performed only after reviewing each duplicate group.
Can I scan my entire Mac?
You can, but it is usually not a good starting point. System folders, application data, backups, and protected locations can produce permission errors and many irrelevant results. Begin with a personal folder such as Documents, Downloads, or an organized media folder.
Does the command find duplicate folders?
Not directly. It finds duplicate files. Two folders can have different structures, metadata, or contents even when some files inside them match. Scan the files within the folders and review the resulting paths.
Will identical files with different names match?
Yes. The hash is calculated from file contents, not the filename or location.
What should I do with the report afterward?
Keep it if you want to review the results later. Otherwise, remove only the report with Finder or by carefully using:
rm "$HOME/duplicate-hashes.txt"
This command removes the report and does not affect the files that were scanned. Verify the path before running it.
Final Thoughts
Terminal can find duplicate files accurately by comparing SHA-256 hashes rather than relying on names or locations. Start with a focused folder, save the results to a report, and review every path before removing anything. The safest cleanup decision depends not only on identical contents but also on backups, synchronization, application use, and where each copy is stored.