
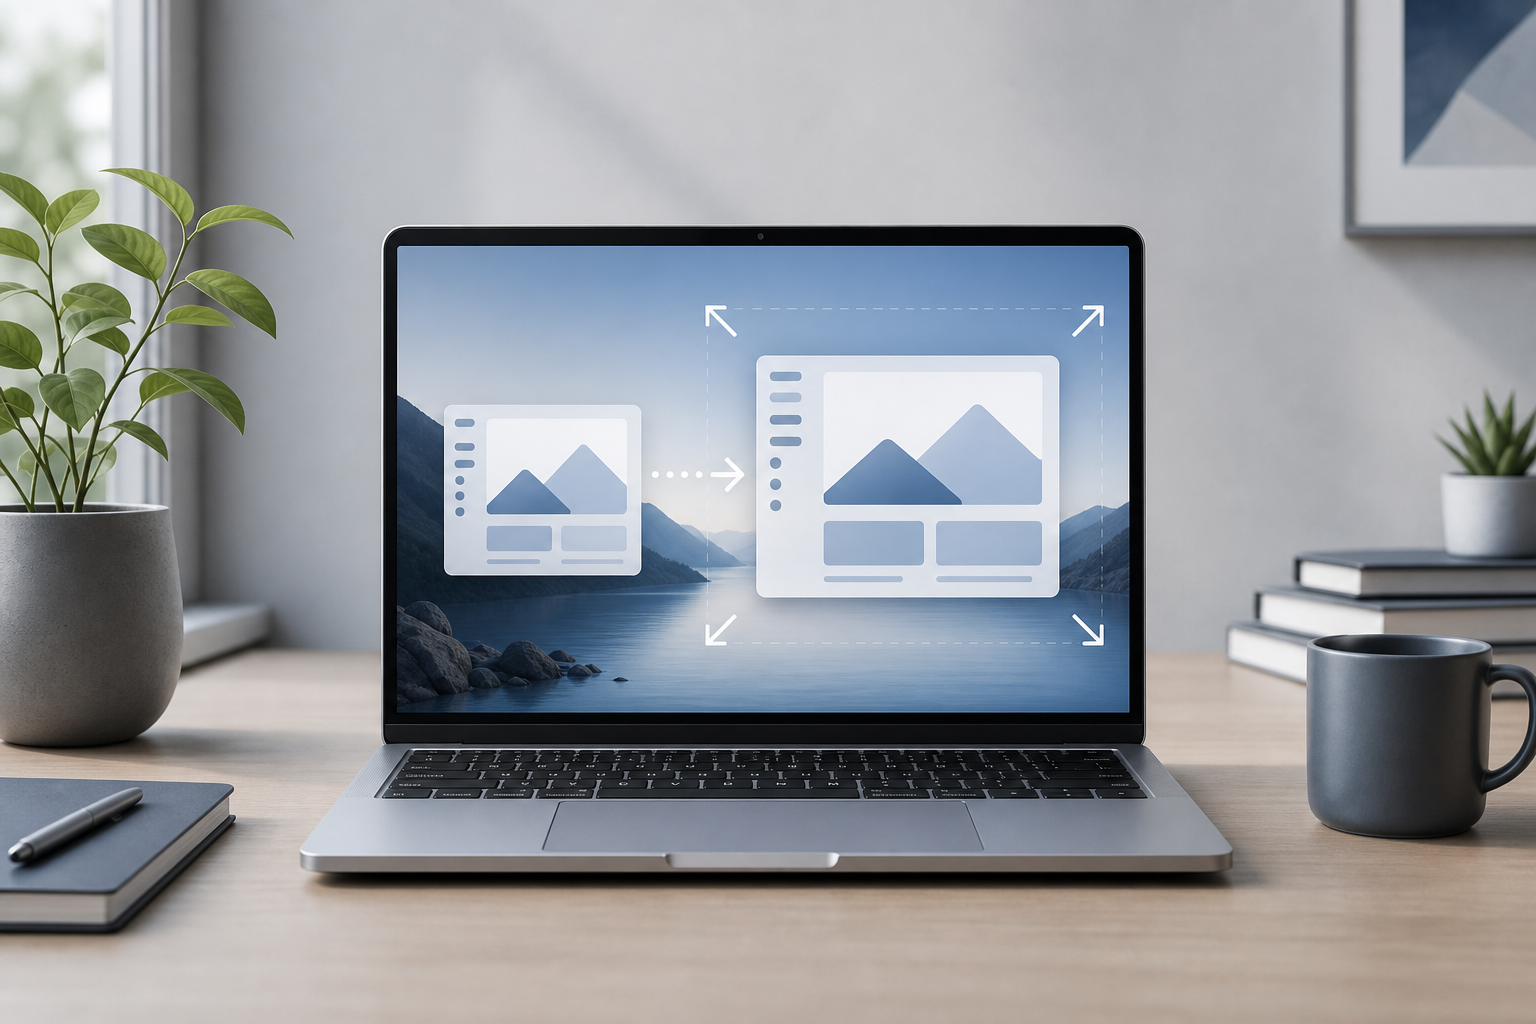
Changing the display resolution on a Mac can make text and interface elements larger, fit more content on the screen, or improve the way an external monitor looks. On most Macs, you change this from System Settings > Displays by choosing Larger Text, More Space, or another resolution.
Quick Answer
- Open the Apple menu in the top-left corner and choose System Settings.
- Select Displays in the sidebar.
- Choose the display you want to adjust if you have more than one connected.
- Select a scaling option:
– Choose Larger Text to make text and controls easier to see.
– Choose More Space to fit more content on the screen.
– Select Show all resolutions—when available—to view additional choices. - Close System Settings when you are finished.
Your Mac applies the change immediately. If the screen becomes difficult to use, wait for the confirmation prompt and choose the option to revert, or return to System Settings > Displays and select a different setting.
What Display Resolution and Scaling Mean
Display resolution describes how much visual detail a screen can show. It is usually expressed as a width-by-height measurement, such as 1920 × 1080. A higher resolution can fit more content on screen, while a lower resolution generally makes interface elements appear larger.
Display scaling changes the apparent size of text, buttons, windows, and other interface elements without necessarily changing the physical capabilities of the display. This is especially important on Mac computers with Retina displays, which have a high pixel density.
In everyday use:
- Larger Text makes menus, windows, and text easier to read.
- More Space makes interface elements smaller so you can see more content.
- A setting near the middle provides a balance between readability and workspace.
- The best choice depends on your display size, viewing distance, eyesight, and the applications you use.
Change Display Scaling in System Settings
This is the standard method for changing resolution or scaling on a Mac.
- Open the Apple menu and select System Settings.
- Click Displays in the sidebar.
- If multiple displays are connected, click the display you want to configure.
- Under resolution or scaling options, select the setting that suits you:
– Larger Text
– A middle scaling option
– More Space - If you see Show all resolutions, select it to reveal additional display modes.
- Close System Settings.
The labels and available options can vary by Mac model, built-in display, external monitor, and macOS configuration. Some displays show a row of previews rather than a list of numerical resolutions.
Choose Larger Text
Select Larger Text when text, buttons, or menus are difficult to read. This setting can help if you sit farther from the screen or prefer a more comfortable reading size.
Larger scaling may reduce the amount of content visible in an app window. For example, a webpage may show less content at once, and a document may display fewer lines.
Choose More Space
Select More Space when you want to fit more windows, columns, or document content on the screen. This is useful for multitasking, spreadsheets, photo editing, and large documents.
Because interface elements become smaller, More Space may be less comfortable if you already have trouble reading small text. You can use it temporarily for a specific task and switch back later.
Choose a Middle Setting
A middle option is often the best starting point. It provides more usable workspace than Larger Text while keeping menus and controls easier to read than they are with More Space.
Try each option for a few minutes while using your usual apps. Consider how clearly you can read text and whether windows provide enough working space.
Show Additional Resolutions
Some Macs provide a Show all resolutions option in System Settings > Displays. Select it when the standard scaling choices do not meet your needs.
Additional options may include numerical resolutions or other display modes. A numerical resolution represents the number of horizontal and vertical pixels the display uses for the desktop.
Before selecting a setting, keep these points in mind:
- A higher numerical resolution usually provides more workspace but smaller interface elements.
- A lower numerical resolution usually makes interface elements larger.
- Some choices may not be scaled optimally for a Retina display.
- An external monitor may offer different options from the Mac’s built-in screen.
- Certain resolutions can make text or thin lines appear less sharp.
If an option produces blurry text, switch back to a recommended scaling choice or another available resolution.
Understanding Retina Display Scaling
A Retina display has a high pixel density, so macOS can use multiple physical pixels to draw a single interface element. This allows text and graphics to look sharp while still offering choices such as Larger Text and More Space.
On a Retina Mac, the resolution shown in Displays does not always represent the exact number of physical pixels being used for the desktop. Instead, macOS may render the interface at a higher internal detail level and scale it to the selected size.
This is why you can often choose a setting that makes the desktop look larger or smaller without seeing the same behavior as a traditional low-resolution display.
For most users, the recommended scaling choices are preferable because they are designed to balance:
- Readability
- Available workspace
- Sharp text and graphics
- Consistent application layout
Use additional resolutions when you have a specific reason, such as matching an application, fitting a particular workflow, or troubleshooting an external display.
Change the Resolution of an External Monitor
You can configure an external monitor separately from your Mac’s built-in display.
- Connect the monitor to your Mac.
- Open the Apple menu and select System Settings.
- Click Displays.
- Select the external monitor from the display previews or list.
- Choose Larger Text, More Space, or another available resolution.
- If available, select Show all resolutions for additional choices.
External displays can offer different scaling options depending on their size, native resolution, connection, and display settings.
Use the Monitor’s Native Resolution
A monitor’s native resolution is the setting that matches its physical pixel arrangement. Using the native resolution often provides the sharpest image, but the interface may appear too small on a high-resolution monitor.
If text and controls are difficult to read at the native resolution, use a scaled option that makes the interface larger while keeping the display sharp.
Check the Display Arrangement
If you have multiple monitors, Displays also lets you arrange their positions. Drag display previews so their on-screen arrangement matches their physical arrangement.
This does not change resolution, but it affects how the pointer and windows move between screens. Make sure you have selected the correct display before changing its scaling.
Use Accessibility Settings for Larger Text and Interface Elements
Display scaling changes the size of much of the macOS interface. Accessibility settings can provide more targeted adjustments when scaling alone is not enough.
Open System Settings and select Accessibility. Depending on the type of adjustment you need, review these areas:
- Display for visual settings such as contrast, transparency, and pointer adjustments
- Zoom for magnifying the screen
- Text Display for text-related options
- Pointer Control for making the pointer easier to locate or use
The exact options available can vary by Mac and macOS configuration.
Use Zoom for Temporary Magnification
If you only need a closer view occasionally, Zoom can be more practical than changing the entire display scaling. It magnifies part or all of the screen and can be turned off when you finish.
Display scaling is generally better when you want a permanent change to the size of menus, windows, and text. Zoom is useful when you need to inspect a small area, read fine print, or temporarily enlarge content.
Increase Text Size in Individual Apps
Some applications have their own text-size or zoom controls. For example, a web browser may have a page zoom setting, while a document editor may have a document zoom control.
Use the app’s controls when only one type of content is too small. Use Displays when the entire macOS desktop is difficult to read or provides too little workspace.
Troubleshooting Display Resolution and Scaling
The screen looks blurry after changing resolution
Blurry text can occur when you choose a non-ideal scaled mode, particularly on an external monitor or a high-resolution display.
Try these steps:
- Open System Settings > Displays.
- Select the affected display.
- Choose a recommended scaling option or a different setting.
- If Show all resolutions is enabled, try another resolution.
- Disconnect and reconnect the display if the image remains incorrect.
- Restart the Mac if the display does not redraw properly.
Use the display’s recommended or native setting when you want the clearest image, then choose a nearby scaled option if the interface is too small.
Everything is too small
Choose Larger Text in System Settings > Displays. If that is not sufficient, review System Settings > Accessibility for display and zoom options.
You can also increase text size within individual applications that provide their own appearance or zoom controls.
Everything is too large
Choose More Space or a middle scaling option. If windows seem unusually large, check whether Zoom is enabled under System Settings > Accessibility.
If only one application is affected, check that app’s zoom or text-size setting instead of changing the entire display.
The display goes black after selecting a resolution
Wait briefly for macOS to apply the setting. If a confirmation prompt appears, accept the change only if the screen looks correct. Otherwise, choose the option to revert.
If you cannot see the prompt or the screen does not recover, try the following:
- Wait a short time for the previous setting to return.
- Disconnect and reconnect an external display.
- Restart the Mac.
- Reopen System Settings > Displays and select a safer scaling option.
Avoid repeatedly choosing display modes that the monitor cannot properly display.
An external monitor has fewer options than expected
The available choices can depend on the monitor, cable, adapter, dock, and connection type. Try connecting the monitor directly to the Mac if possible.
Also check that:
- The monitor is powered on before opening Displays.
- The cable and adapter are firmly connected.
- The monitor is set to the correct input.
- The display appears in System Settings > Displays.
- You are changing the settings for the external monitor rather than the built-in display.
If a dock or adapter is involved, its capabilities may limit the available resolutions or refresh options.
An app’s layout looks wrong after scaling
Quit and reopen the affected app so it can redraw its interface at the new display setting. Before quitting, save your work. Unsaved changes could be lost if the app does not preserve them.
If the problem affects only one app, look for an app-specific zoom, appearance, or interface-size setting.
Text is sharp on the MacBook but blurry on the monitor
This commonly indicates that the external monitor is using a resolution or scaling mode that does not render text cleanly. In System Settings > Displays, select the monitor and try its native resolution or a recommended scaled setting.
If the monitor is connected through an adapter or dock, test a direct connection when possible. The connection can affect which display modes macOS offers.
Frequently Asked Questions
What is the best resolution for a Mac?
The best setting is the one that provides readable text, comfortable interface sizes, and enough workspace for your tasks. Start with the default or middle scaling option, then try Larger Text or More Space based on your preference.
Should I use Larger Text or More Space?
Use Larger Text for easier reading and larger controls. Use More Space when you need to see more windows, columns, or document content at once. A middle option is a good compromise.
Does changing resolution affect the physical screen?
No. Changing resolution or scaling changes how macOS draws the desktop. It does not change the physical size of the display.
Does display scaling affect performance?
The effect depends on the Mac, display, and selected setting. In normal use, choose the setting that provides the best balance of clarity and workspace. If a particular mode causes noticeable problems, return to a recommended option.
Can I use different scaling settings on two monitors?
Yes. In System Settings > Displays, select each monitor separately and choose its own scaling option.
Why do I not see “Show all resolutions”?
The option may not appear for every Mac or display configuration. macOS may show only the recommended scaling choices for that display. External monitors, connection methods, and display capabilities can also affect the available options.
Will changing resolution delete files or apps?
No. Changing display resolution or scaling does not delete files or applications. However, if an app must be closed while troubleshooting a display problem, save your work first because unsaved changes may be lost.
How do I restore the default display setting?
Open System Settings > Displays, select the display, and choose the default or recommended scaling option. If you are unsure which option was originally selected, start with the middle choice or the option marked as recommended, when shown.
Final Thoughts
To change the resolution or scaling on a Mac, open System Settings, select Displays, and choose Larger Text, More Space, or another available resolution. Use the recommended settings for sharp text, Larger Text for improved readability, and More Space when you need additional workspace. For persistent visibility problems, combine display scaling with the accessibility tools in System Settings > Accessibility.