
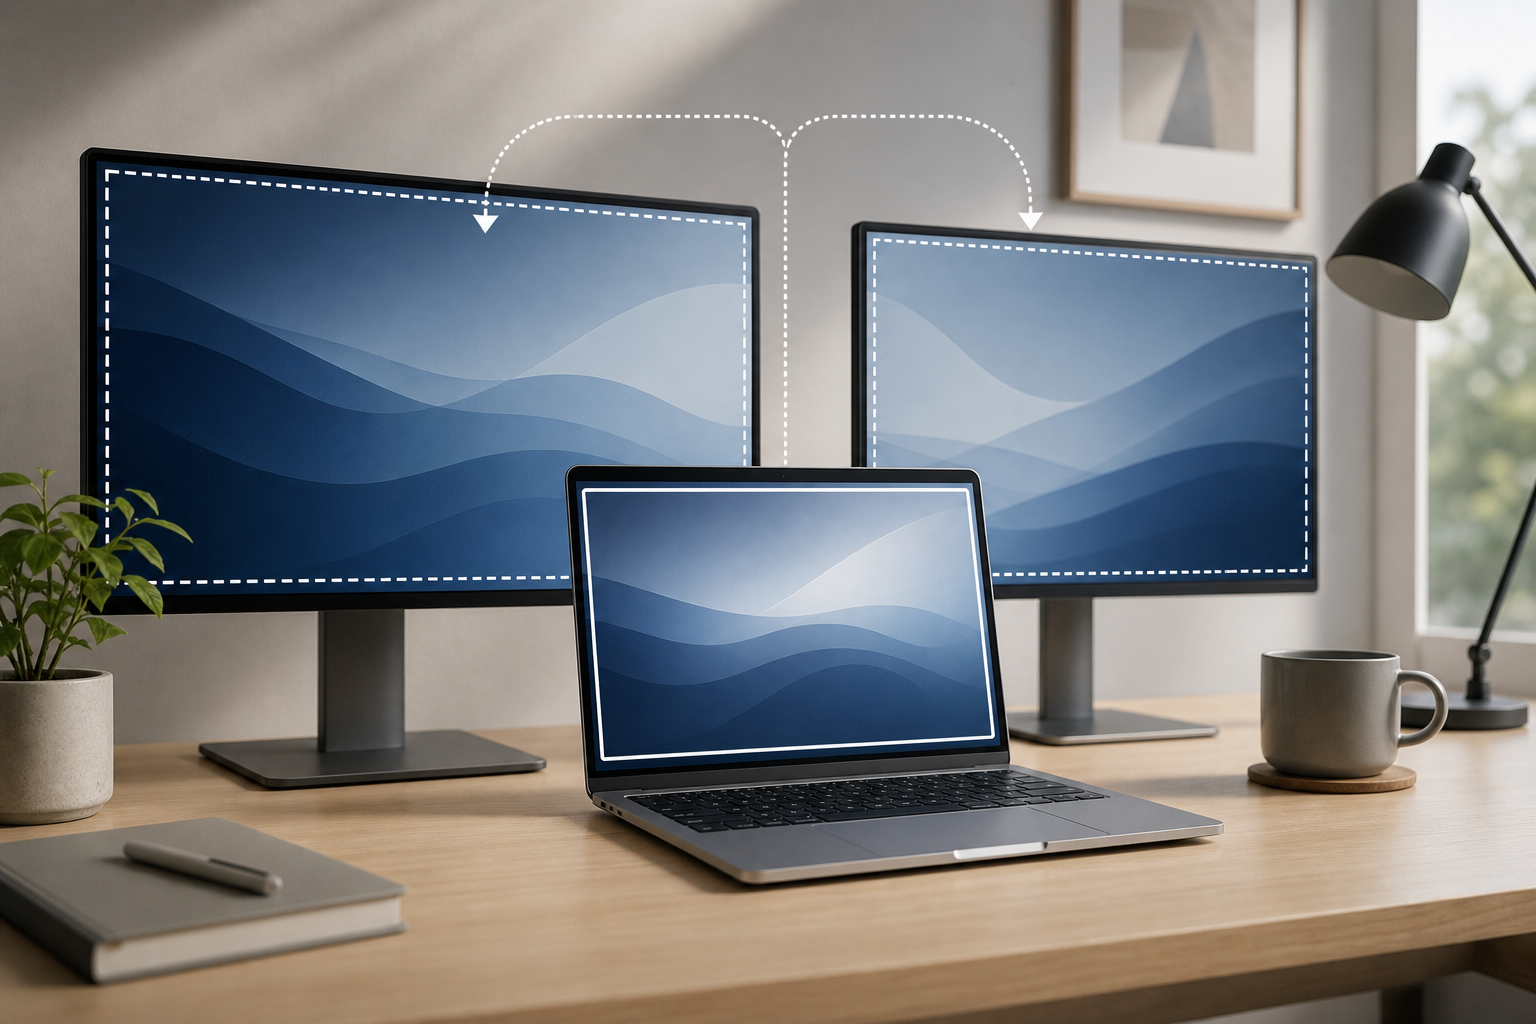
macOS lets you arrange external monitors, choose which display acts as the main screen, mirror the same image, or extend your desktop across several displays. The key setting is the main display indicator: in System Settings > Displays, select the display you want to use as the primary screen, then choose where the menu bar appears.
Quick Answer
- Connect your external displays to your MacBook. 2. Open the Apple menu and choose System Settings. 3. Select Displays. 4. Click Arrange if the layout preview is not already visible. 5. Drag the display rectangles until they match the physical arrangement on your desk. 6.
Before You Arrange Your Displays
Connect every monitor and turn it on before changing the layout. If your MacBook has fewer compatible video ports than the number of displays you want to use, you may need a dock, hub, adapter, or a Mac-compatible display connection.
Display support varies by MacBook model, chip, connection type, and dock. If one monitor does not appear in macOS, solve the connection problem before trying to arrange the screens.
Also check how you want to use the displays:
- Extended desktop: Each display provides a separate area of workspace.
- Mirrored displays: Every display shows the same image.
- Main display: One screen holds the menu bar and normally acts as the primary workspace.
- Closed-lid setup: The MacBook operates with its built-in screen closed while using external displays.
If you plan to close the lid, save your work first and make sure the MacBook is connected to power when required by your setup. For more detailed instructions, see How to Use a MacBook with the Lid Closed.
How to Arrange Multiple Displays in macOS
The display arrangement in macOS should match the physical position of your screens. For example, if your external monitor is to the left of the MacBook, its rectangle should appear to the left in the arrangement preview.
1. Open the Displays settings
- Click the Apple menu in the upper-left corner.
- Choose System Settings.
- Click Displays in the sidebar.
You should see a visual preview of the connected displays. Each rectangle represents one screen. The rectangle corresponding to the MacBook’s built-in display is usually labeled separately from the external screens.
If a display does not appear, click Option while viewing the Displays settings to reveal Detect Displays, then select it if available. You can also disconnect and reconnect the video cable or adapter, verify that the monitor is on, and check that the display is set to the correct input.
2. Open the arrangement controls
Depending on your macOS version and window size, the display layout may appear immediately. If you see an Arrange button, click it.
The arrangement view shows display rectangles that can be moved. Their relative positions determine how the pointer travels between screens.
3. Drag the displays into position
Click and drag each display rectangle so the on-screen layout matches your desk.
For example:
- Put the external display to the left of the MacBook if it is physically on your left.
- Place one display above another if your monitors are stacked.
- Align the top edges if the screens sit evenly at the top.
- Align the bottom edges if your displays rest on the same surface.
- Place the MacBook’s display below an external monitor if the laptop is positioned underneath it.
You do not need to make the rectangles identical in size. macOS uses their relative position to determine how the pointer crosses from one display to another.
4. Test the pointer movement
Move the pointer from one display to another. If it crosses at an unexpected location, return to System Settings > Displays and adjust the rectangle positions.
This is especially important when displays have different resolutions or physical sizes. A small alignment change can make it easier to move the pointer between screens without searching for the correct edge.
5. Arrange the displays vertically or diagonally
You can place displays at different heights by dragging one rectangle slightly above or below another. This represents the physical arrangement more accurately and controls where the pointer can cross between screens.
For example, if a monitor begins several inches higher than the MacBook’s screen, move its rectangle upward. If you cannot move the pointer across the entire edge, the rectangles may not overlap enough. Adjust them until the crossing area matches how you use the screens.
How to Choose the Main Display
The main display is the screen you want to use as the primary workspace. It normally contains the menu bar and Dock and may be the default location for newly opened apps, dialogs, or notifications.
Method 1: Use “Use as” in Displays settings
- Open System Settings.
- Click Displays.
- Select the display you want to make primary.
- Open the Use as menu.
- Choose Main Display.
The exact controls can vary slightly depending on the macOS version and how many displays are connected. If you do not see Use as, select the display in the arrangement preview and look for a main-display option in its settings.
After choosing the main display, the menu bar and Dock may move to that screen. Existing windows do not necessarily move automatically, so drag them manually if needed.
Method 2: Move the menu bar in the arrangement view
Some versions of macOS show a white menu bar in the display arrangement preview. To make another screen the main display:
- Open System Settings > Displays.
- Click Arrange.
- Drag the white menu bar from the current main display rectangle to the display you want to use.
- Release it when it appears on the desired display.
If your version of macOS does not show a draggable menu bar, use the Use as > Main Display method instead.
What changes when you choose a main display?
Changing the main display can affect:
- Which screen shows the menu bar.
- Where the Dock appears initially.
- Which display macOS treats as the primary workspace.
- Where some new windows open.
- How full-screen apps use the displays.
The main display does not have to be the MacBook’s built-in screen. You can make an external monitor the primary display while leaving the MacBook open as a secondary workspace.
How to Use Extended Desktop or Mirroring
By default, multiple displays often work as an extended desktop, giving you separate work areas. You can also mirror the displays when you want each screen to show the same content.
Use an extended desktop
- Open System Settings > Displays.
- Select the display you want to configure.
- Open the Use as menu.
- Choose Extended Display if that option is available.
Repeat the process for other connected displays if necessary. Then arrange the rectangles so the pointer moves naturally between screens.
An extended desktop is useful when you want an app, document, browser window, or communication tool on a separate screen.
Mirror the displays
- Open System Settings > Displays.
- Select the display you want to mirror.
- Open Use as.
- Choose Mirror for Built-in Display or the equivalent mirroring option shown by your Mac.
The wording can vary depending on the selected display. Mirroring may cause macOS to use a resolution supported by both screens, which can make one display look less sharp or provide fewer scaling choices.
To return to separate workspaces, select the display again and choose Extended Display.
Adjust Resolution and Scaling After Arranging Displays
Different monitors can have different resolutions and physical sizes. After arranging the displays, select each one in System Settings > Displays and adjust its resolution or scaling.
A scaled setting can make text and interface controls easier to read, while a higher effective workspace setting provides more room for windows. The best choice depends on the display’s size, viewing distance, and your preference.
If you need detailed guidance, read How to Change Display Resolution and Scaling on a Mac.
You can also adjust the refresh rate for a compatible display. A refresh rate controls how frequently the screen updates and can affect motion smoothness. See How to Change the Refresh Rate on a Mac Display for the relevant settings.
How to Make an External Monitor the Only Active Screen
If you want to use an external display while keeping the MacBook’s built-in screen off, close the lid after connecting the necessary power, keyboard, mouse, and display equipment. This is commonly called closed-lid or clamshell mode.
Before closing the lid:
- Save open documents.
- Confirm that the external display is working.
- Make sure the MacBook is receiving power when required.
- Check that you can wake or control the MacBook with the connected keyboard or mouse.
Do not close the lid while an important operation is running if doing so could interrupt your work. If the external display does not remain active, reopen the lid and check the connection and power settings.
Troubleshooting Display Arrangement Problems
A display is missing
Try these steps in order:
- Confirm that the monitor is powered on.
- Select the correct input source on the monitor.
- Unplug and reconnect the cable at both ends.
- Remove and reconnect the adapter or dock.
- Open System Settings > Displays and use Detect Displays if it is available.
- Restart the MacBook with the monitor connected.
- Test another cable, adapter, or port if available.
A dock or adapter can be the cause even when the monitor works correctly when connected directly to the MacBook.
The pointer will not move between screens correctly
Return to System Settings > Displays > Arrange and reposition the display rectangles. Make sure neighboring rectangles overlap along the edge where you want the pointer to cross.
If the pointer seems to stop at a gap, the corresponding display rectangles may be separated or aligned incorrectly.
The wrong screen has the menu bar
Select the intended screen in System Settings > Displays, then choose Use as > Main Display. If your macOS version shows a white menu bar in the arrangement preview, drag it to the desired display.
Windows keep opening on the wrong display
First, confirm that the intended screen is the main display. Then move the app window to the preferred monitor and close the app while the window is there. Some apps remember their last window position, while others use their own window-management behavior.
Full-screen apps can also change how a display is used. Exit full-screen mode and check the arrangement again if a window seems to disappear.
One display is blurry or uses an unsuitable size
Select that display in System Settings > Displays and choose a different resolution or scaling option. Use the display’s recommended setting if text or images look unusually soft.
If the display remains blurry, check the cable, adapter, and monitor input. A connection problem can limit available display modes.
An external display flickers
Flickering can result from a loose connection, a damaged cable, an incompatible adapter, or an unsuitable refresh rate. Reseat the connections and try another cable or port. You can also review the refresh-rate setting for the affected display.
For a more focused set of steps, see How to Fix an External Display That Keeps Flickering on a Mac.
The display arrangement changes after reconnecting a monitor
macOS can rebuild the layout when a display is disconnected, a dock is removed, or the MacBook wakes in a different configuration. Reconnect the displays, return to System Settings > Displays, and arrange them again.
Use consistent ports and connections when possible. Labeling cables can also make it easier to restore a multi-display setup after traveling.
The external display looks too warm or too cool
This is a color setting rather than an arrangement problem. Select the display in System Settings > Displays and review its color profile. If accurate color matters for your work, use the display’s available calibration options. You can also read How to Calibrate an External Display on a Mac.
Frequently Asked Questions
Can I make an external monitor the main display?
Yes. Open System Settings > Displays, select the external monitor, and choose Use as > Main Display. Depending on your macOS version, you may instead drag the menu bar in the arrangement preview.
Does the main display have to be the MacBook screen?
No. Any connected display can be the main display, including an external monitor.
How do I move the Dock to another display?
The Dock typically appears on the main display, but it can also appear temporarily on another screen when you move the pointer to that screen’s bottom edge.
Can I use three or more displays with a MacBook?
It depends on the MacBook model, its hardware, the connection method, and the dock or adapters being used.
Will arranging displays delete files or close apps?
Changing display arrangement does not normally delete files or close applications. However, windows can move, resize, or become temporarily difficult to find. Save important work before changing cables, restarting, or switching to a closed-lid setup.
Why does a mirrored display look different from the MacBook screen?
Mirroring requires the displays to share a compatible image mode.
Final Thoughts
To arrange multiple displays, match the rectangles in System Settings > Displays to the physical layout on your desk.