
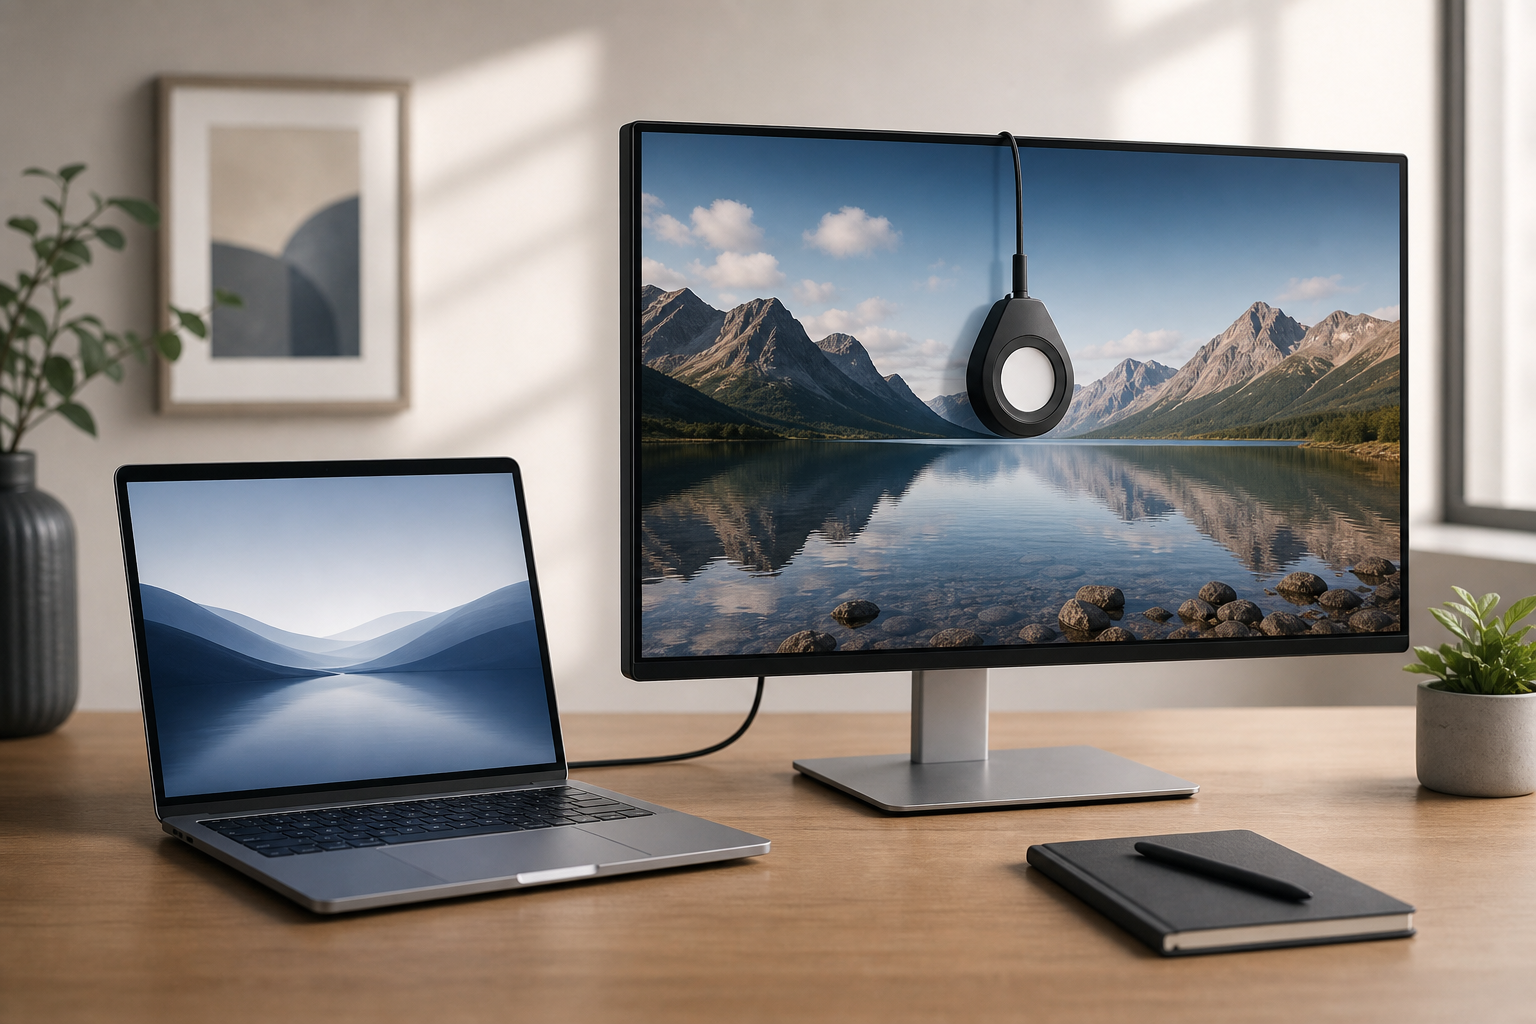
An external display can look too warm, too cool, overly bright, or noticeably different from your MacBook’s built-in screen. macOS includes a built-in Display Calibrator Assistant that can create a custom color profile for the monitor. It is free and useful for everyday work, photo viewing, and more consistent color between screens.
For the most accurate results, use a hardware colorimeter. macOS’s built-in tool relies on your eyes and viewing conditions, so it cannot provide the same precision as professional calibration equipment.
Quick Answer
To calibrate an external display on a Mac:
- Connect and turn on the monitor.
- Open Apple menu > System Settings > Displays.
- Select the external display and choose its current color profile, if necessary.
- Hold the Option key and click Advanced… or open the display’s color profile settings.
- Select Open Display Calibrator Assistant.
- Follow the on-screen instructions, save the profile, and select it in the display settings.
Before calibrating, let the monitor warm up, disable automatic picture modes, and avoid direct sunlight or strong room lighting.
Prepare the External Display
Calibration is most effective when the monitor is in a stable, neutral state. Complete these steps before opening the macOS calibration tool.
1. Connect the display directly if possible
Connect the monitor to your Mac using the appropriate cable or adapter. If you are using a dock, hub, or adapter, make sure it supports the monitor’s resolution and color features.
If the display flickers, disconnects, or repeatedly changes resolution, solve that connection problem before calibrating. An unstable connection can make the calibration result unreliable.
2. Turn on the display and let it warm up
Turn on the external monitor and leave it running for at least 20 to 30 minutes. Displays can change slightly as they reach their normal operating temperature.
If the monitor has been off for a long time, allowing it to warm up is especially helpful.
3. Reset the monitor’s picture settings
Use the display’s built-in controls to reset its picture or color settings to their default values. The exact menu names vary by manufacturer.
Look for options such as:
- Picture Reset
- Factory Reset
- Reset Color
- Standard
- sRGB
- Custom
A neutral Standard or sRGB mode is usually a better starting point than a vivid, cinema, gaming, or HDR-enhanced mode. Avoid calibrating while the monitor is using a mode that changes color automatically.
4. Disable automatic adjustments temporarily
If the monitor or Mac is automatically changing its appearance, turn those features off before calibration. Depending on the display and Mac, relevant settings may include:
- True Tone
- Night Shift
- Automatic brightness
- HDR
- Dynamic contrast
- Blue-light reduction
- Manufacturer-specific color modes
On your Mac, open Apple menu > System Settings > Displays and select the external display. If an option changes the screen’s color or brightness automatically, disable it during calibration.
You can turn features such as Night Shift back on afterward, but remember that they intentionally change the screen’s color temperature.
5. Control the room lighting
Avoid calibrating in direct sunlight or under colored lighting. Keep the room lighting similar to the conditions in which you normally use the display.
Clean the screen if fingerprints or dust make it difficult to judge neutral whites and grays. Do not press hard on the panel.
Calibrate the Display with macOS
The built-in Display Calibrator Assistant creates an ICC color profile. An ICC profile is a file that describes how a display represents colors, allowing macOS and compatible apps to adjust color output more consistently.
1. Open the display settings
- Open the Apple menu.
- Select System Settings.
- Click Displays in the sidebar.
- Select the external display you want to calibrate.
The display may appear by its brand name, model name, or a generic label.
2. Find the color profile controls
The location of the profile controls can vary slightly between macOS releases and display configurations.
Look for a Color profile menu or color profile section in the selected display’s settings. If you see an option to open the profile list, use it to access the available profiles.
On some Macs, the calibration command is available by holding the Option key while clicking Advanced… in Displays. Look for Open Display Calibrator Assistant.
If you cannot find the assistant in System Settings, use Spotlight:
- Press Command-Space.
- Search for Display Calibrator Assistant.
- Press Return to open it.
3. Start Display Calibrator Assistant
Follow the instructions in the assistant. It will guide you through adjustments intended to make the display’s colors and tonal range more consistent.
The assistant may ask you to adjust controls such as:
- Brightness
- Contrast
- Native or target gamma
- White point
- Black level
The available controls depend on the Mac and display. If the assistant asks you to identify a barely visible shape or boundary, move close enough to see the pattern clearly without viewing the screen from an extreme angle.
4. Choose a white point carefully
White point describes the appearance of white on the display. A warmer white point looks more yellow or reddish, while a cooler white point looks more blue.
If you are calibrating for general use, avoid making the display extremely warm or cool. A neutral-looking white point is usually the most practical choice.
If your monitor has a hardware control for color temperature, do not make large changes in both the monitor menu and the assistant. Adjusting both aggressively can make the final result harder to judge.
5. Save the profile
When the assistant finishes:
- Enter a descriptive name, such as
Office Monitor - Daylight. - Save the profile.
- Return to System Settings > Displays.
- Confirm that the new profile is selected for the external display.
You can create separate profiles for different lighting conditions, such as daytime and evening. However, switching between profiles changes how colors appear, so use a consistent profile when color matching matters.
Compare the New Profile with the Original
After saving the profile, compare it with the display’s original profile.
- Open Apple menu > System Settings > Displays.
- Select the external display.
- Open the Color profile menu.
- Select the previous profile.
- Compare it with the new custom profile.
- Select the profile that looks more accurate and comfortable for your work.
Use familiar content for the comparison, such as a photo with natural skin tones, a document with a white background, and neutral gray interface elements. Do not judge the profile using only a highly saturated image.
A profile that looks more colorful is not necessarily more accurate. If the new profile makes whites look yellow, shadows disappear, or skin tones appear unnatural, return to the previous profile and recalibrate under more controlled conditions.
Make the Screens Match More Closely
A MacBook’s built-in display and an external monitor may never look identical. They can use different panel technologies, brightness levels, viewing angles, contrast ratios, and factory settings.
To reduce visible differences:
- Calibrate both displays in the same room lighting.
- Set their brightness to similar comfortable levels.
- Avoid comparing them from different viewing angles.
- Use the same type of content on both screens.
- Keep Night Shift, HDR, and automatic color adjustments consistent.
- Confirm that each display is using the intended color profile.
Brightness is often the largest cause of a perceived color mismatch. A very bright screen can make colors appear more vivid, while a dim screen may make them look dull.
If you frequently use the MacBook with the external monitor while the lid is closed, make sure the Mac has power and that the keyboard and pointing device can wake it. See how to use a MacBook with the lid closed for that setup.
When to Use a Hardware Colorimeter
The built-in assistant is useful for visual adjustment, but it has limitations:
- It depends on your eyesight.
- Room lighting affects your judgment.
- The display’s viewing angle can affect what you see.
- Different people may create different profiles.
- It cannot measure the display as precisely as dedicated hardware.
A colorimeter is a sensor that attaches to the screen and measures color, brightness, and sometimes contrast. Calibration software uses those measurements to create a profile.
Consider hardware calibration if you:
- Edit photos or video professionally.
- Prepare images for printing.
- Need consistent color across multiple displays.
- Work with brand or product colors.
- Share color-critical files with clients or a production team.
Even with hardware calibration, use a stable connection, allow the display to warm up, and control the surrounding light.
Troubleshooting External Display Calibration
The calibration option is missing
Make sure the external display is connected and selected in System Settings > Displays. If necessary, open Display Calibrator Assistant through Spotlight by pressing Command-Space and searching for it.
If the display is connected through a dock, temporarily connect it directly to the Mac. Some docks or adapters may not expose all display controls.
The external display still looks too blue or too yellow
Recalibrate under neutral room lighting and inspect the monitor’s own picture settings. A vivid, cool, cinema, or gaming mode may override the appearance you expect.
Also check that Night Shift and other color-changing features are disabled while you compare the result.
Colors change when you reconnect the monitor
macOS may assign a different profile depending on the display connection, adapter, or monitor identity. Open System Settings > Displays after reconnecting and verify the selected profile.
If you use multiple ports or adapters, create the profile while using the connection you normally use.
The display looks washed out
Check the monitor’s contrast, black level, and picture mode. HDR can also change the appearance of brightness and color on supported displays. Turn HDR off temporarily and compare the result.
A washed-out image can also result from an incorrect range setting or an adapter that does not handle the display signal properly. Test a different cable or direct connection if available.
The display is too dark
Increase brightness using the monitor’s controls or the brightness control in System Settings > Displays, if available. Do not compensate for a dark display only by changing color profiles.
Check whether automatic brightness, a low-power mode, or a manufacturer-specific picture mode is reducing brightness.
Text looks blurry after changing settings
Color calibration does not normally change display sharpness. Check the resolution and scaling in System Settings > Displays. If the display is using an unexpected resolution, restore the setting that produces clear text.
For related display settings, see how to change display resolution and scaling on a Mac.
The refresh rate changed
A refresh-rate change can affect motion smoothness but usually does not fix inaccurate color. Open System Settings > Displays and verify the monitor’s refresh rate.
If you need to change it, follow how to change the refresh rate on a Mac display.
Colors look different in one app
Some apps manage color independently or do not fully support color profiles. Compare the same image in another color-managed app and in macOS’s interface.
If only one app looks wrong, update it and check its color-management preferences before recalibrating the entire display.
Frequently Asked Questions
Does macOS automatically calibrate an external monitor?
macOS can apply a supplied color profile automatically when it recognizes a display, but that is not the same as creating a custom calibration for your particular monitor and lighting conditions. You can create a custom profile with Display Calibrator Assistant.
Will calibration make my MacBook and monitor look identical?
Not necessarily. Different panels and brightness capabilities can still produce visible differences. Calibration can improve consistency, but it cannot make two different displays behave exactly the same.
Should I use the monitor’s sRGB mode?
For general use, sRGB can be a reasonable starting point because it limits the display to a common color space. However, the best choice depends on your monitor, applications, and work. If you use a wide-gamut display, switching modes may change how colors are represented.
Do I need to calibrate every time I connect the monitor?
No. A saved profile remains available until you change it or create another one. Recalibrate if the monitor’s settings change, the room lighting changes significantly, or the display’s appearance drifts over time.
Can I calibrate a display without special hardware?
Yes. Display Calibrator Assistant lets you create a visual calibration using your eyes. It is suitable for many everyday situations, but it is not a substitute for a colorimeter when accurate, repeatable color is important.
Why does Night Shift undo my calibration?
Night Shift intentionally changes the display’s color temperature, usually making the screen appear warmer. Turn it off when judging the calibration, or expect the display to look different when Night Shift is active.
Final Thoughts
macOS’s Display Calibrator Assistant is a practical way to improve the appearance of an external monitor without buying additional equipment. Prepare the display, control the room lighting, create a custom profile, and compare it with the original setting. For professional color work, use a hardware colorimeter and treat the macOS profile as part of a broader color-management workflow.